Shopping with Sarah + Stencils in Stock

Hey! Today, I thought I'd share a few of my recent finds at Home Goods, TJ Maxx and Marshalls (love living close enough to go to all three!)


Ghost chairs for days at Home Goods!! I sat in one and they are surprisingly comfortable!! $129.99


8x10 Moroccan shag rug. I probably would have bought this one if it was 9x12, found at Home Goods 299.99 (p.s. if you have a favorite under $400, I'd love to hear it! I'm having issues finding the right one ..)


Wire base lamps at Home Goods. Love that you can see through them! $59.99


Faux bamboo mirror at TJ Maxx. $59.99


Small pattern bowls, similar to anthro. $2.99


Large metal letters at Marshalls - perfect for a gallery wall! $16.99

--

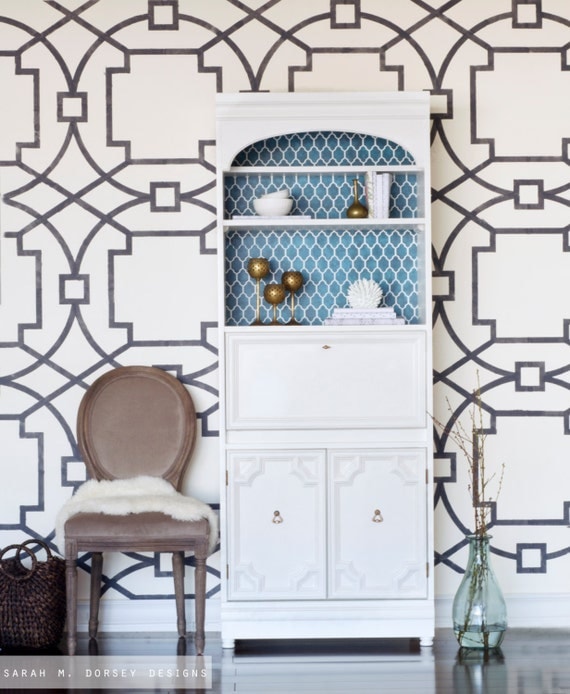
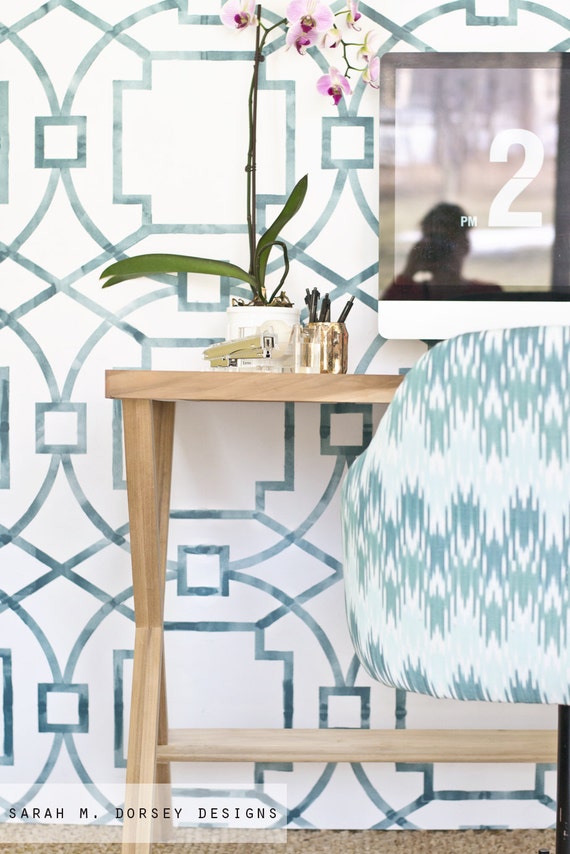
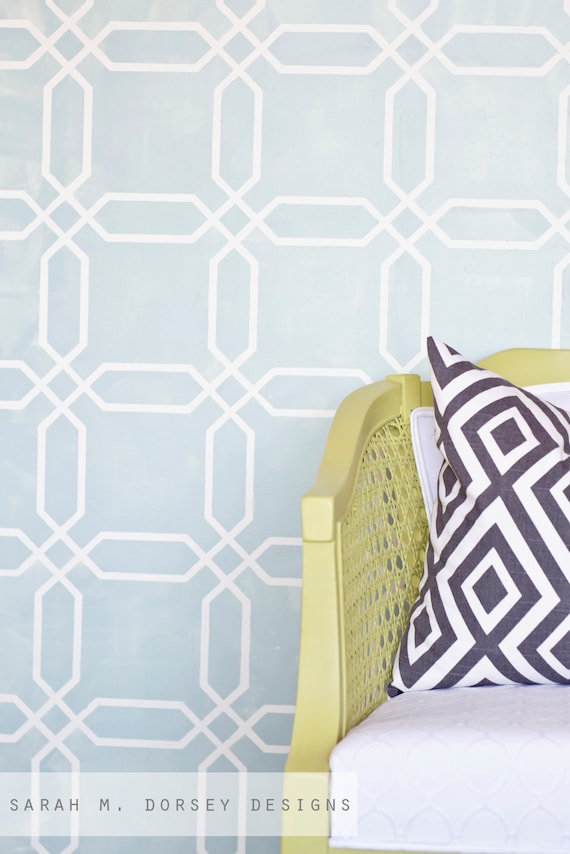
P.S. Fretwork stencils are back in stock! Large available here and medium available here


Leaf Stencil + Faux Roman Shade

Hey!! Today I'm sharing the final details on our entry. If I miss something that you're curious about, let me know!

First up, the stencil. If you've been following for a while, than you know that I love stenciling. It's time consuming, but it's super inexpensive! Several weeks ago, I mentioned to David that I'd like to recreate Katie Ridder's leaf wallpaper in a stencil. We spent a few days coming up with variations on the design, but we didn't come up with anything that we liked better, so we decided to go with the original. It's balanced, has contrast, organic/hand drawn look. Love it!! We knew right away that it would be tricky since the shapes in the center were floating (stencils need to have connecting pieces) so one shape would need to be done with two stencils.

To get started we traced the pattern in Adobe Illustrator, and then David figured out how to split it in two.


As you can see, it looks pretty different..

Then we imported to cut on our Silhouette Cameo, one stencil at a time.


You can see the finished shapes on the bottom and top left and the half stencil on the top right.

I wanted something organic to 1. contrast the geometric lines of the floor and 2. since there were several wall beams to work around, we wanted something that didn't have to be perfect to look good.

Here's a few issues that we had with the stencil ..

1. Since it took two stencils to make one shape, they had to line up perfectly. Which was tricky once the stencil had paint on it ..

2. Since the shapes were so tiny, they would get clogged with paint easily. We used Sherwin Williams test paint and it peeled easily off the stencil (as long as it didn't sit overnight)


We used a smooth foam roller, rolling off all excess paint first, making sure that it was even on the roller prior to applying. You want to use as little paint as possible. You can always add more paint later, but you can't (easily) take it off.


We used 4 stencils (2 complete shapes) but we should have cut more .. for the edges, we cut one set  so that it would fit easier, but we definitely could have used more since they clogged up with paint.

I wish this was a complete tutorial but unfortunately that's not really possible since everyone doesn't have access to Adobe Illustrator and a Silhouette.. so it probably wouldn't benefit too many people. Right? If you'd like to try something similar, I'd recommend trying out Gus & Lula's method with a sharpie!

Next up, something much simpler! A no sew faux roman shade.


We didn't need privacy or light blocking so a non functional roman shade was perfect!


There are several tutorials out there, so I'll just give a brief overview of my process. I cut a piece of white fabric to the size of my window (and planned it to be bunched up about half of the window) Finished the edges, I sewed them, but they could just as easily be glued with permanent fabric glue.


I cut three 4" bands of Neo Toile from Tonic Living, two to run down the sides and one at the bottom. I ironed a .5" section under on both sides.


I used Fabri Tac, permanent fabric glue to attach on both sides of my fabric and then overlapped the the edges, placing a strip at the bottom.


I cut that strip long, and secured the edges on the backside.


Then I ironed it really well with starch and installed it with tiny nails on the window. First, I secured it on the top (one tiny nail on each side, folded it in two even sections and under the fold used a tiny nail (on each side) to secure it again. I didn't want to glue my layers so I would have the option to take it down and reuse it, but looking back, I probably won't do that .. it would have been easier to glue the folds together prior to installation.


And a little more info on this wall, LOVE Pottery Barn's collapsible baskets - perfect for holding umbrellas, bags, dog leashes, etc. Garden stool is from Home Goods, Bag is Kate Spade Saturday found at TJ Maxx, and Chevron duck coat hook is a DIY project.
--

Finally, a wrap up of how I feel about the space (and DIY in general) .. Overall, I'm SO happy that it turned out just like I imagined in my head (Love it when that happens :) It makes all the bumps along the way worth it! This was our first room renovation (not in a rental) so learning along the way was to be expected .. we had a few more learning moments than I anticipated, but looking back that's ok. If I'm not learning .. I'm not moving forward. We'll take what we learned from this project to the next and hopefully continue to learn! I know that some of the tutorials from this space weren't clear cut (built-ins and stencil ..), but just wanted to thank you again for allowing us to share all aspects of our DIY process! Thanks so much for your support, it means SO much!!

Thanks to Pottery Barn, Kenroy Home, and DLawless Hardware for providing products to help this space come together! As always, I only share products that I really love!!

Updates

Hi! Here's a little bit of what's been going on around here ..

Last weekend I tested a few of my new stencils, took a some pics and added them to my shop. 


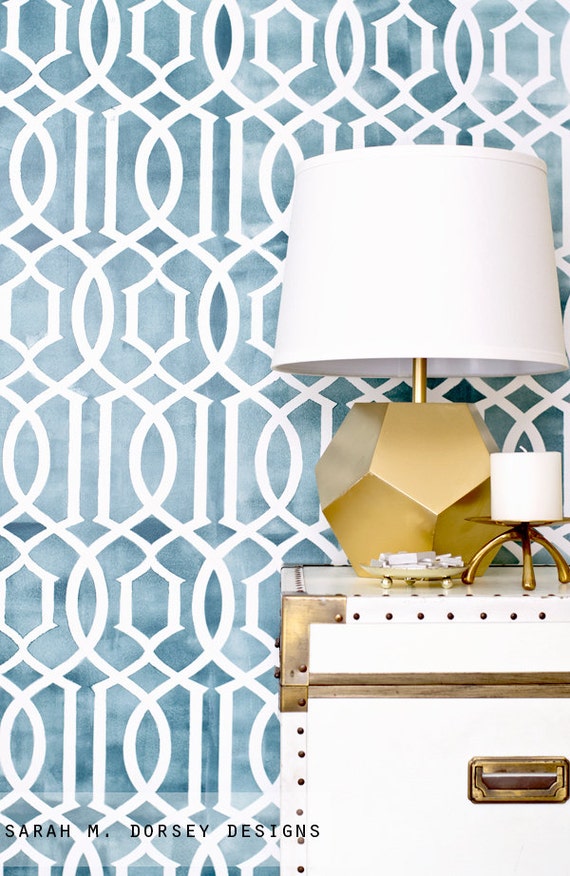
a larger trellis, it's a good scale for walls. I also just got an image from Cat ( @catpham on instagram) who purchased my smaller trellis, which looks amazing!! Just takes a little more time than the larger one, but so worth it!


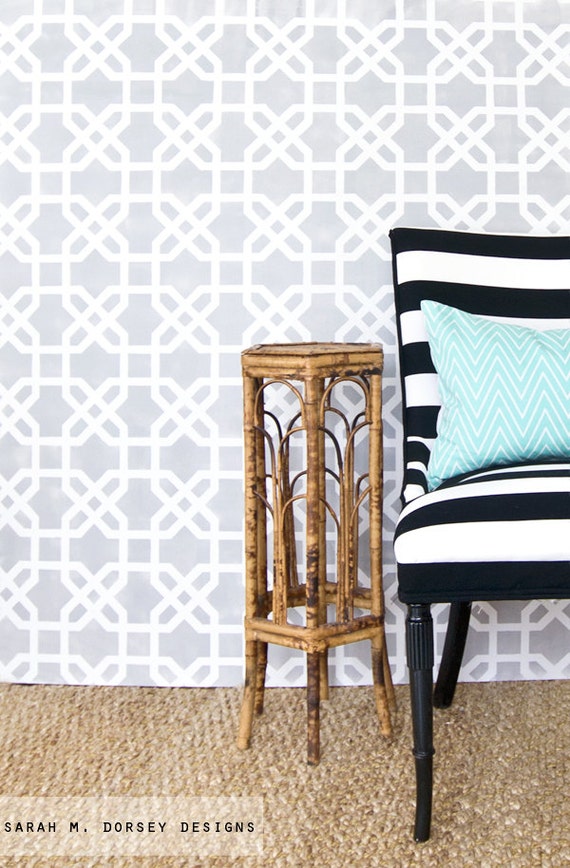
and a larger octagon stencil, also a good scale for a wall.

I'm busy working on a few new stencil designs - so I'll be spending more time on that to get it going!

Right now (while we're in a rental) I'm just stenciling on a left over piece of plywood .. for our new house I'm envisioning an accent wall in a tv room / project room in the basement that I could change whenever I have a new stencil.

Also, a few changes on the site .. David and I started updating some pages the other week, design services and projects are new! More to come, but this was a good start!

Hope you all are having a great week!!


Large Fretwork back in stock!

Just wanted to stop in and share that I've restocked my large fretwork stencil! Stop by my Etsy shop and take a look!

I'm still offering my pre-moving special of $45 + $9 US shipping, after Christmas the price will go back to $50 + shipping.


Also, I'm working on expanding my stencil selection. I have a few new designs ready to go, but I'd LOVE to hear what you'd like to see. Let me know a. where you'd use a stencil i.e. entry, bedroom feature wall or bookcase, etc. and b. what pattern you'd like to use.

My favorite will be produced and that person win a free stencil!!!

Large Fretwork Stencil In Stock!

The large 32"x32" fretwork stencil is back in stock!


The stencil is half of one complete shape. You flip it around to complete the shape. The stencil is so large, it's easier to handle this way.


An instruction sheet is also included!


I have 12 available now, more in stock after we move! If you're interested, use the buy it now button on the right sidebar where you will check out through Paypal. It's $45 + $7 US shipping only.

Happy stenciling!

Nesting Tables Complete

Hi! I hope that you had a great weekend! We finalized a few things and took the last photos for our ca home tour. It may seem a little crazy to be changing things a few weeks before we move (now end of September ... more on that later) but, I was so close to being "finished" that I wanted to see things through. I say "finished" because I could change things forever, but I'm stopping at, it feels like me and makes me happy :)

So to finish things up I painted this set of nesting tables. They had a few deep scratches, so I decided that paint would be best.


I sanded and filled the scratches with wood filler.


Primed with Zinsser Coverstain and photoshopped a few paint options.


I finished it with Sherwin Williams Pro Classic, Alabaster in semi-gloss (took three coats). Painted a Greek Key in SW Big Chill, by creating a stencil for the corners and connecting the straight lines with painters tape, like I did on the pin board.


This table was originally in the same place, just turned the other way. We moved the sofa and shelving over a few inches so that both tables would fit.


I was planning on painting a gold dipped leg, but ran out of time. I'm sure I'll find something else to dip soon :)

I took a bunch of photos this weekend, so updated room and house tour this week or next!!

I'm now officially selling most of our furniture! A few things have been claimed, but if you're local (central coast ca), let me know if your interested anything. I'll be selling a few smaller things here, so if you think it will ship, feel free to ask :) Leave a comment here, or email me at sarahmdorseydesigns{@}gmail{.}com


Large Fretwork Stencil Now Available

Just wanted to stop in and let you know that I finally figured out how to produce my larger fretwork stencil! The finished shape is 32"x32" (same size as photo). Since it is so large, I decided to make the stencil half of the shape so that it is easier to handle, then you flip it over to finish the shape. I currently have 12 available to you first before I put it on Etsy.

I'll also have more in the fall after we move, so more to come! 

If you're interested, leave a comment or send an email to sarahmdorseydesigns{@}gmail{.}com. They are $45 + $7 shipping, payment available through Paypal.


Happy Wednesday! :)

Zimba Inspired Stencil | Free PDF Download

Just stopping in quickly today to share that I finally uploaded a PDF file of my Zimba inspired stencil :)  If you're interested in making your own, stop by HERE to download! (link is underneath second image on that page)


 Enjoy! If you use the stencil, I'd love to see pictures!

New Stencil in my Etsy Shop

I recently added a new stencil to my Etsy shop.


Feel free to stop by and take a look!

I'm always looking for new designs, let me know if you have something in mind! :)

Hope you have a great long weekend!!

How I Stencil

I've been getting a few questions on how to use my stencils, so yesterday I spent sometime making a few tutorials on techniques that I've found helpful. 

Through creating and using a few different stencils, I realized that I use each one a little differently. So I will start showing through photos and video (and still text) how I use them. After all, that is how I learn, so maybe you do too! 

For the Moroccan Trellis stencil I took a few photos to illustrate the steps that I take.


I made a step by step version of the best and fastest way I found to paint the Moroccan Trellis stencil. This will give varying opacities, which I love. If you are looking for a fuller opacity, I would recommend using swirling motions, pulling away from the sides and building the paint up until desired opacity is reached.

Last night I started testing my new trellis inspired stencil, up in the shop a little later today or tomorrow.


With the smaller shapes, I found it easier to work in a swirling motion over the whole stencil pressing down semi firmly on the brush to hold the edges tight to avoid paint going underneath. I even made a video to help explain. It was taken at night, so please excuse the poor quality and weird coloring, but hopefully you get the idea :) 


Better ones to come!

Also, it took me about 2 minutes to cover 12", so you could roughly calculate how long it would take you to stencil your surface. 

Finally, I have this natural bristle stencil brush set from Martha Stewart. I found that they need to be broken in first as they lose bristles and are stiff. After they are broken in they lose a lot less bristles! Having a broken in brush made the trellis stencil easier since I could move faster. I broke mine in by using it (I didn't know at the time that it would work better for me broken in) but I would guess that maybe swirling it in vinegar would do the trick? I haven't tried this, so if you have any tips let me know! :)

I typically just use the largest brush, but didn't see that option when I purchased at Michaels.  

Hopefully this info is helpful both for using my stencils and your own!

Lack table update soon! 
Powered by Blogger.