Living Room + Office Updated Mood Board

As we are pulling together the office, I'm making a few changes in the living room/office space. In addition to the changes I've discussed, like swapping our large table for a narrower longer desk, replacing our dining/desk chairs with Eames chairs, and update the gallery wall with a statement piece. The plan is to swap the navy for deep charcoal and carry the coral into the living room.  Click here to see what our Living Room/Office space looks like now (well almost, now there is the credenza and the large pin board :)

fabric: 1. 2. 3. 4., art, desk, draperies, eames chair
 My goal is to DIY a lot to keep it budget friendly! Stay tuned! 

Winners!!

The two winner's have been chosen for last week's giveaway! Congrats to April for winning the heart stud earrings and and to Breonna for winning an ampersand arrow print! I'll be in touch soon!


Thank you so much to all who entered!! If you didn't win, be on the look out for another hump day giveaway soon! 

Finally, a big thank you to Taylor's Eclectic for taking part in this giveaway!

Pin it. Clip it.


I love Pinterest. It is a great way to organize and track your thoughts, but there is something about seeing it in front of you. I mean having something tangible that you can glance stare at all day. It gets in your head so you can see things more clearly and work through any issues. 

I found a piece of MDF at Habitat Restore for $2.50 and texted David that it was about the perfect size, but VERY heavy. He said go for it, hanging it wouldn't be too bad (more on hanging below) I also found trim at Habitat for about $1/ft (not as cheap as the MDF but still cheaper than buying new). So total spent on the board and trim was only $15!


The trim was at 45s with the chop saw, two coats of primer and two top coats were rolled on. 


We designed (in illustrator) and cut a stencil (with the silhouette cameo, we got ours from here) and painted with SW Ardent Coral. Stencil is now available in my Etsy shop, click here to view. 

and the next night, we cut out a greek key pattern for the corners and connected the straight lines with painter's tape. 


We attached the trim afterwards because it is easier to stencil to a level line than a raised edge (ie trim) 


We cut the trim so that it would sit on the board but overhang slightly (about .25") Since it sits flush against the wall this gives it a little dimension, and hides the MDF edge. To attach the trim, we drilled through the back with a drill bit that countersinks the hole so that the screw would sit flush with the board. From the back, we used 4 screws (making sure they weren't too long, don't want the screw to come all the way through the trim!) on the long side and 3 on the shorter. See that $2.50 price tag? I got lucky! 

I then picked up a few magnetic bulldog clips at wal-mart (4 for $1.88). A brilliant idea from this project at The Hunted Interior

We broke the magnet out (tapping with a screw and hammer from the back). and gave them (and a few screws) a few light coats of Rustoleum oil rubbed bronze. Clipping them to a paint stick is a good way so you can get all sides. 


We measured and installed them with a small bit. It's actually our small screwdriver for fixing sunglass arms. David popped off the end and it fit in the drill!


Finally, hanging it. Since the MDF was very heavy we used D-hooks from a kit like this and wall hangers like this. To be safe, we got supplies that were rated for 50 lb, when in doubt, always go higher! We centered the hangers on the credenza and so far, so good. No loud crashes! 

and that was it! I love the large scale, pop of small pattern with the larger greek key overlay! 


The orchid is from Trader Joes (hopefully I can keep it alive!)


I made the "For Like Ever" print and also framed one of my favorite recent photos of Annabelle. 


Using clips is a great way to avoid pin holes.


Price breakdown:

Wood, $15
Clips, about $6
paint already owned

Total: $21

and total time invested: Painting about 3 hours (could be avoided by not stenciling or using fabric) Construction, about 1.5 hours = 4.5 hours 

So, do you have a real pin board, or just Pinterest? I like having a digital place (check out my Pinterest boards here) for future ideas and things I want to store quickly and a tangible one for more immediate planning. 

The office is almost done! Just the desk (preview in this post), and a few more textiles! oh and also the Eames chairs, how could I almost forget those!

--

Don't forget, today is the last day to enter last week's giveaway from Taylor's Eclectic


Statement piece for the office (almost done!)

Last week I was so happy when I found the exact (well almost) size board that I was looking for the gallery wall in the office. I started with this pin board and then this painting, but the scale was bugging me - I needed something big!

So I found a large piece of MDF and trim at Habitat Restore for $15 total. Which was an amazing price, trim is sooo expensive!

We cut the board down a little so it was straight and cut the trim on 45s to make a frame, primed and painted.

Then we designed a stencil, cut it out and got to work! If you follow me on Instagram @sarahmdorseydesigns you may have seen this photo. 


Stenciling can be an affordable way to add pattern to a surface without fabric. Since this stencil was a little more detailed, I had to go a little slower ... it took about 2 hours.

Then last night, we cut a greek key stencil out for the corners and once dry, taped the straight parts in between the corners with painter's tape to connect the lines.


 We attached the trim with screws from the back, and here is what it looks like this morning.


I love the idea of using bulldog clips instead of pins (which wouldn't work with my board anyways) via The Hunted Interior.  A great way to keep holes out of pictures and organize categories!

At office stores the cheapest I found was 2 for $3.49. Really, over a dollar for a clip?? I found 4 for $1.88 at Wal-Mart, so I think I'll go back for those.

Statement pieces can be so expensive, so I was thrilled when I only had to spend $15!! (will be about $20 with clips)

Finished pics soon! 

Humpday Giveaway: Artisan Jewelry from Taylor's Eclectic

Today I have a very special giveaway from my good friend Taylor, from Taylor's Eclectic!

I adore Taylor's work because it is:

a. beautiful
b. meticulously hand crafted
c. incredibly unique!

I asked Taylor to talk a little about her process and technique, here is what she had to say:

"I spent many months developing my paper sculpting process. It is not paper mache. It is not paper stretching. It is not decoupage. What is it? It's my own specialized process. It's my own specialized sealants. It's a piece of jewelry with an obsessive attention to detail and hours of hand sculpting. Working in intricate detail has a strangely calming effect on me."

Even though each piece contains paper, they are all completely waterproof, due to Taylor's sealant process.  

Pretty neat, huh?

So in honor of Valentine's Day, We are giving away one of my favorite items from her shop, a pair of her heart studs 


I love them all, and couldn't decide what color, so the winner will get their choice of one color! Mint, Black, Red, Pink, Purple or White

Some of my other favorite items from her shop include:

sterling silver tree necklace

petite lemon grove necklace
cherry blossom statement cuff

Love them all!

I was able to meet up with Taylor while in MD for Christmas and it was so fun talking about her process. Taylor meticulously crafts and puts a lot of TLC into each piece!

Ready to enter? Enter on the widget below and stop by Taylor's shop, pick out your favorite item and come back here to leave a comment with a link or the name of your favorite item.

And as a bonus gift, also in the Valentine's Day theme, I'm giving away an ampersand arrow print from my etsy shop! There will be two winners, one for the heart stud earring and one for the print.


Enter on the widget below for your chance to win! Open to US and Canada. Giveaway will be open for a week. 

a Rafflecopter giveaway

Good Luck! Stop by next week to see if you've won!
 

Eames Update - Almost done!


The Eames chairs are finally almost done!  After many hours of sanding they are looking worlds different!

If you follow me on instagram @sarahmdorseydesigns you probably saw how close we were


First we sanded with 120 grit with the orbital sander, then 220 grit, and finally with 320 grit (by hand) Respirator and eye protection is a must!!


At the second sanding, it was already looking so much better!

After doing a lot of research it seemed that short of getting the chairs professionally sealed, using Pentrol  was a good solution. After going to a few store and seeing the spot on the shelf, but no product we were told that it is illegal to sell in CA because of the vocs ... whoops! So onto, plan B. We stopped by a fiberglass shop that specializes in making and repairing surfboards. We asked them if they could seal it or recommend a product. They recommend a patio sealer that they use on their surfboards from Home Depot.


Behr Wet-Look sealer. Since it is for a patio, they only had it in a gallon size, so it was a little pricey at $27, but Pentrol is about the same.  We figured if they use it on surfboards, it has to be durable!


Here it is with the first coat (still wet so looking very shiny). They recommended 4 coats, so we are going to let it dry for about a day and wet sand with a fine grit sand paper in between coats. We are hoping that it it'll be about this glossy when finished.

Our journey (on the first chair) is almost complete! Just a little more sanding/sealer and a cushion for the bottom and we'll be done! 

This process is has definitely not been easy or quick, so I could only recommend attempting if you have a love for original Eames chairs (we both do!) and lots of patience (luckily David does!)

I'll give a full break down on our process once we have finished photos, but for now click here, here, and here to see other posts.

--

This week I have a very exciting Humpday giveaway planned with two prizes, check back on Wednesday to enter!

and also check back throughout the week for project updates, our new statement piece for the gallery wall, new stencil design, and hopefully more!

How to Make a Removable Drum Shade Cover


A year or two ago I picked up a large drum shade from a Crate and Barrel outlet. Even though I had no place to put it, I had to buy it since it was only $20, yes only $20! The shade alone could easily cost $50. It is the eden white pendant from CB2 , (Crate and Barrel sister store). Since it plugs into an outlet,  David is going to retrofit it so there are no wires showing. He's a keeper!

As we are wrapping up the office design, I decided that I wanted to add something simple and textural. I landed on shade that is kinda a cross between this one from lamps plus and this one from anthropologie

Wednesday, I went to the fabric store and rummaged through the muslin remnants and got about 2 yards. I chose one with a looser weave because I wanted it to have a gauzy appearance once I ripped the strips. A tighter weave will give less frayed edges.


First I made the base for the fabric to attach to, 8" high and a few inches longer than the circumference of the shade. I wanted something a little heavier, so I used a king pillow case. I decided to finish the edges, finished or unfinished would work.

I tore 3" stripes of the muslin and pinned on the base. I just made a small cut and then ripped the rest, it only takes about 10 seconds per strip and you don't have to worry about it being straight!


and sewed about 1/2" from the top edge. 

I wanted the rows to be close together, so I repeated the steps, overlapping the rows about 1".


When I reached the top, I let a few inches overhang and sewed about a 1/2" from the edge. I folded the fabric even with the top of the base and ironed the edge. I then carefully (making sure it wasn't too short) ripped off the extra fabric so it had the overhang that I wanted.


I placed no sew adhesive underneath the top piece and ironed so that the top would be flush.


To connect the two ends, I folded the hem over and ironed with no sew adhesive.


I attached velcro to secure the ends, and attached it to the shade! This is perfect for those like me that change their mind a lot so that it leaves the shade undamaged.


Then I pulled tightly around the shade and it was good to go!


I temporarily attached it the current fixture...


It came with a diffuser, so no worries about harsh lighting!


If you are learning to sew, this is probably one of the easiest things to make since you don't even have to sew a straight line (since they all get covered :) Also, this project could of been made even easier by laying it all out at once with no sew adhesive underneath and simply ironing! I didn't have enough adhesive, so I decided just to sew it.

Total time: about 2 hrs (probably about 1 hr if using no sew adhesive!)

Total money invested:

2 yards Muslin ($1.50 yard with coupon) $3.00
I already had the fixture and velcro

Here are are few fixture options, CB2 is the fixture that I used (found at an outlet), Ikea also has a similar option here although it is not a pendant and just surface mounted.

Total investment this week, $3.00! Total overall investment $26.00 (thank goodness for outlets!)

--

Also, my painting is moving and the gallery wall is getting a major overall this weekend. I found almost everything I needed at Habitat Restore for only $15! Stay tuned!

Other projects this weekend: Eames chair and desk! Hopefully we'll get a lot done!

Happy Friday friends, I hope you have a great weekend!

Valentine's Day Prints from my Etsy shop

Today I wanted to share one of my latest prints from my Etsy shop.


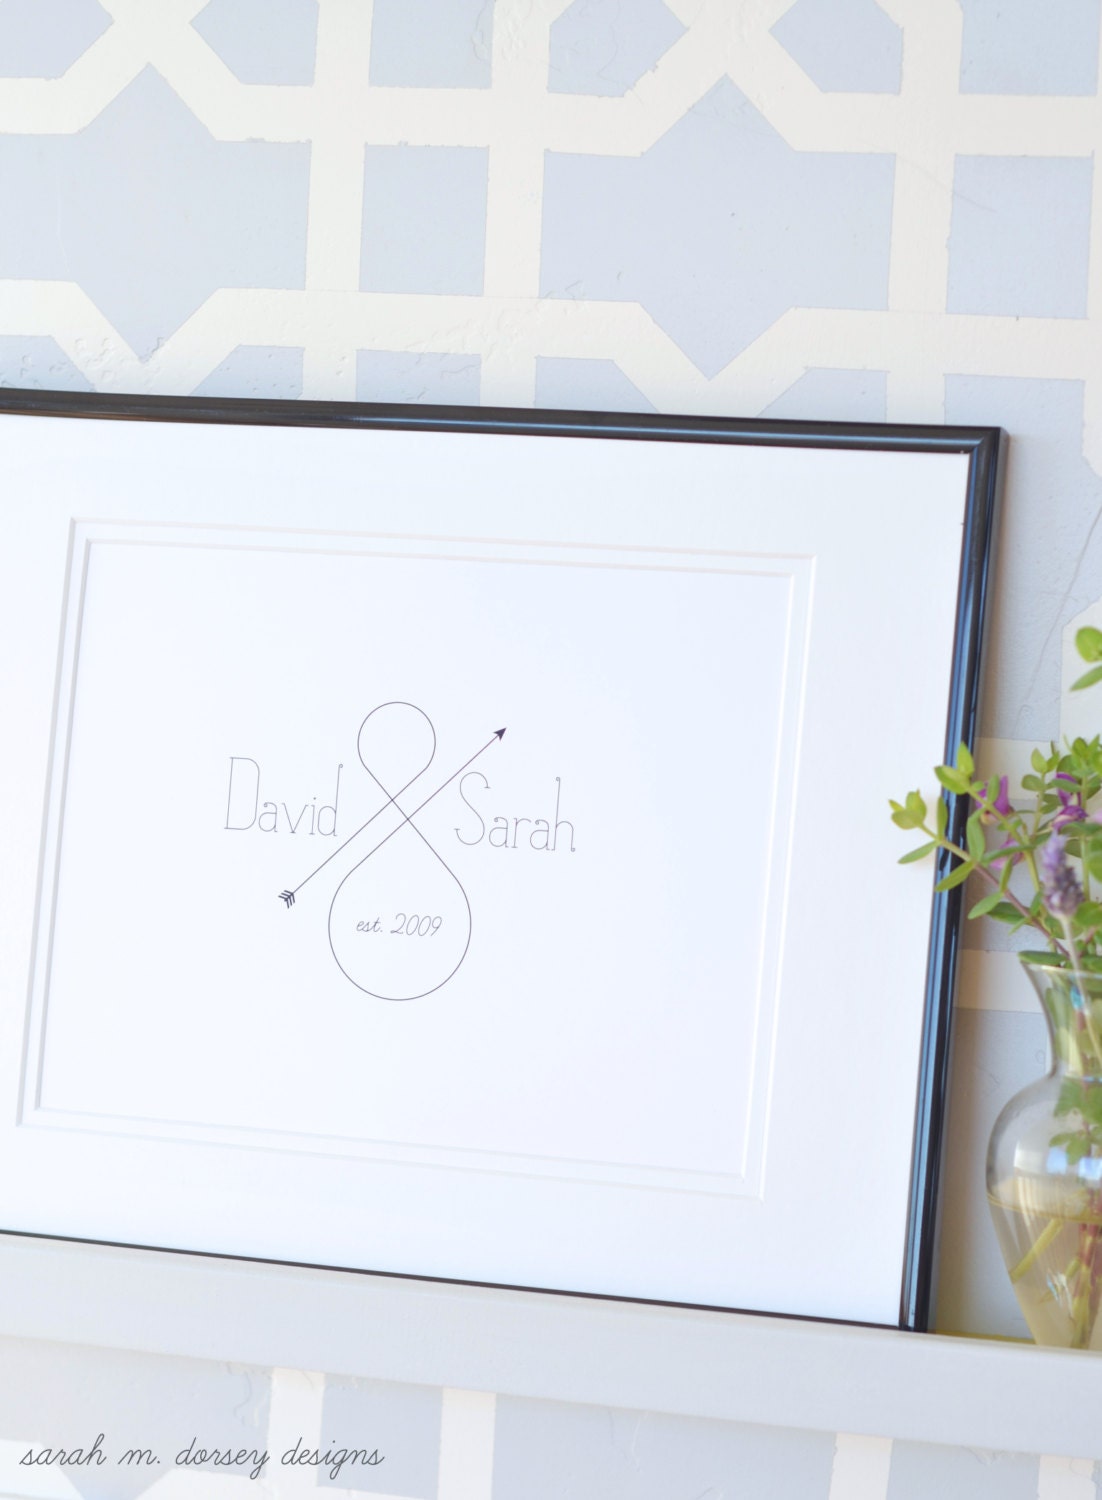
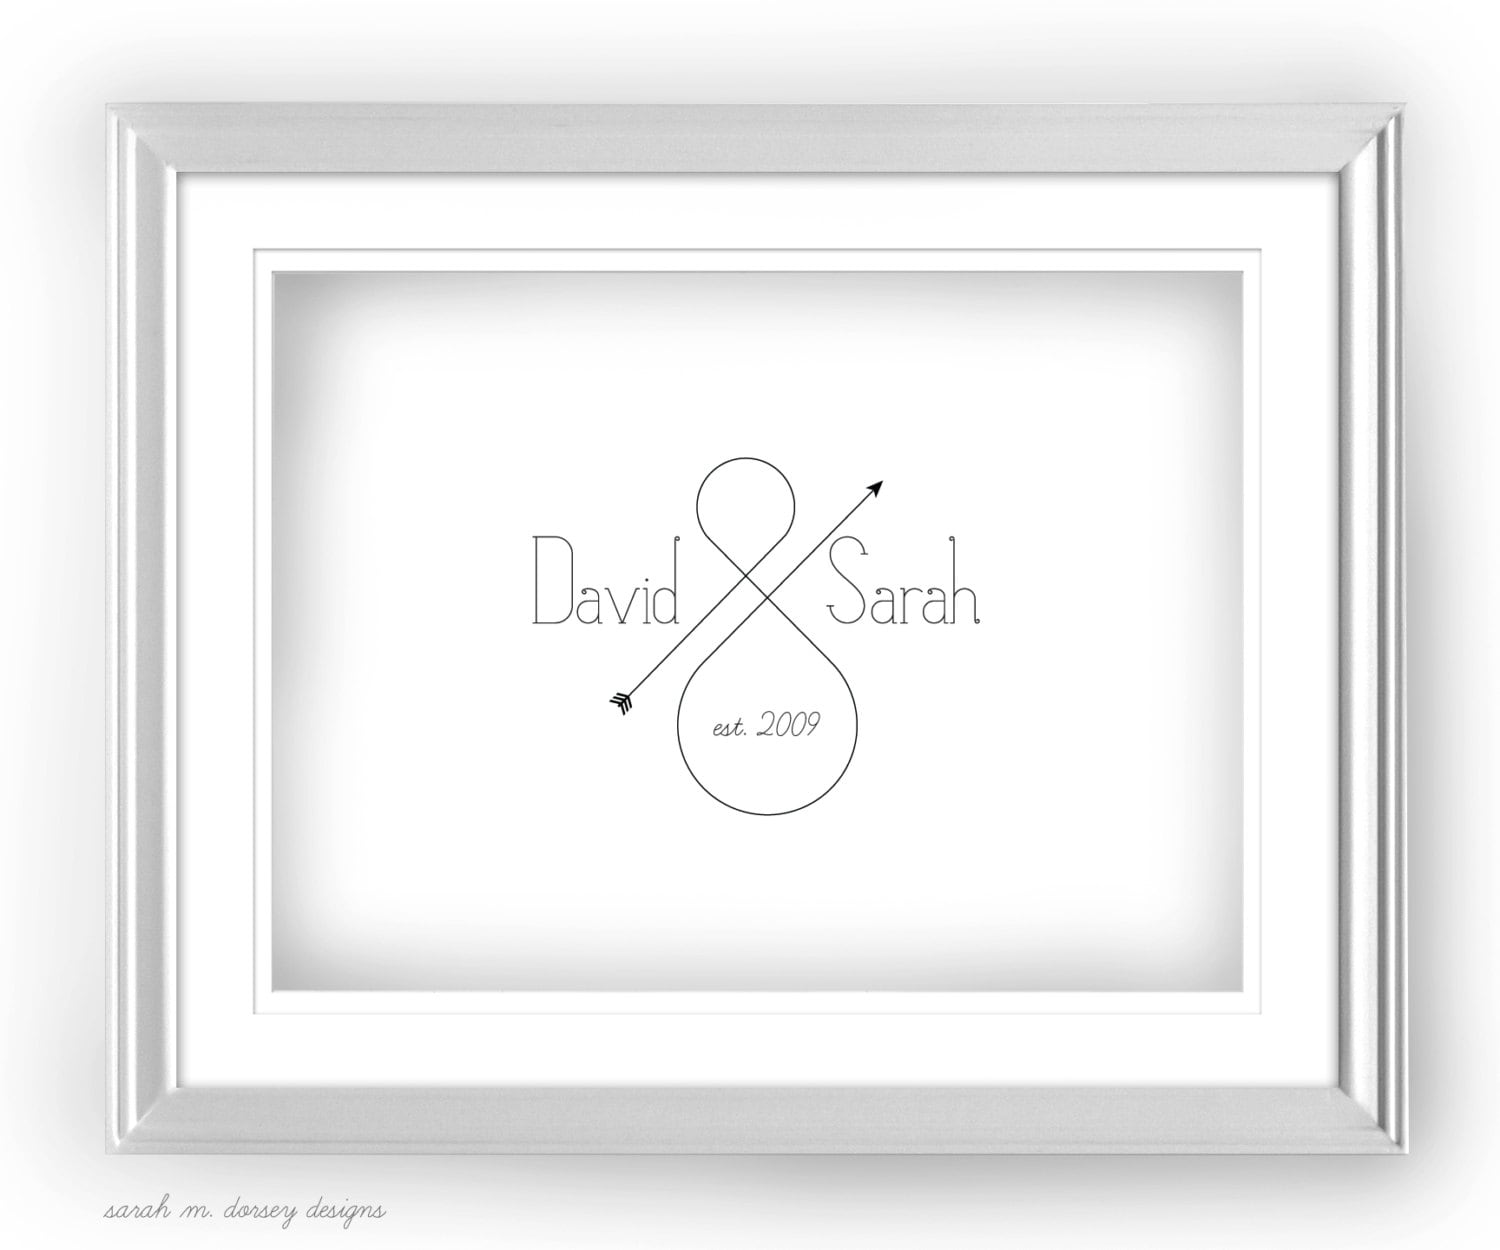
An ampersand arrow, customizable with your names and est. date! I'm loving the simplicity of the design. It could look great next to a photo of you and your loved one or would be perfect in a gallery wall! It could also be a great Valentine's day gift! It's available here $15 for an 8.5x11 print.

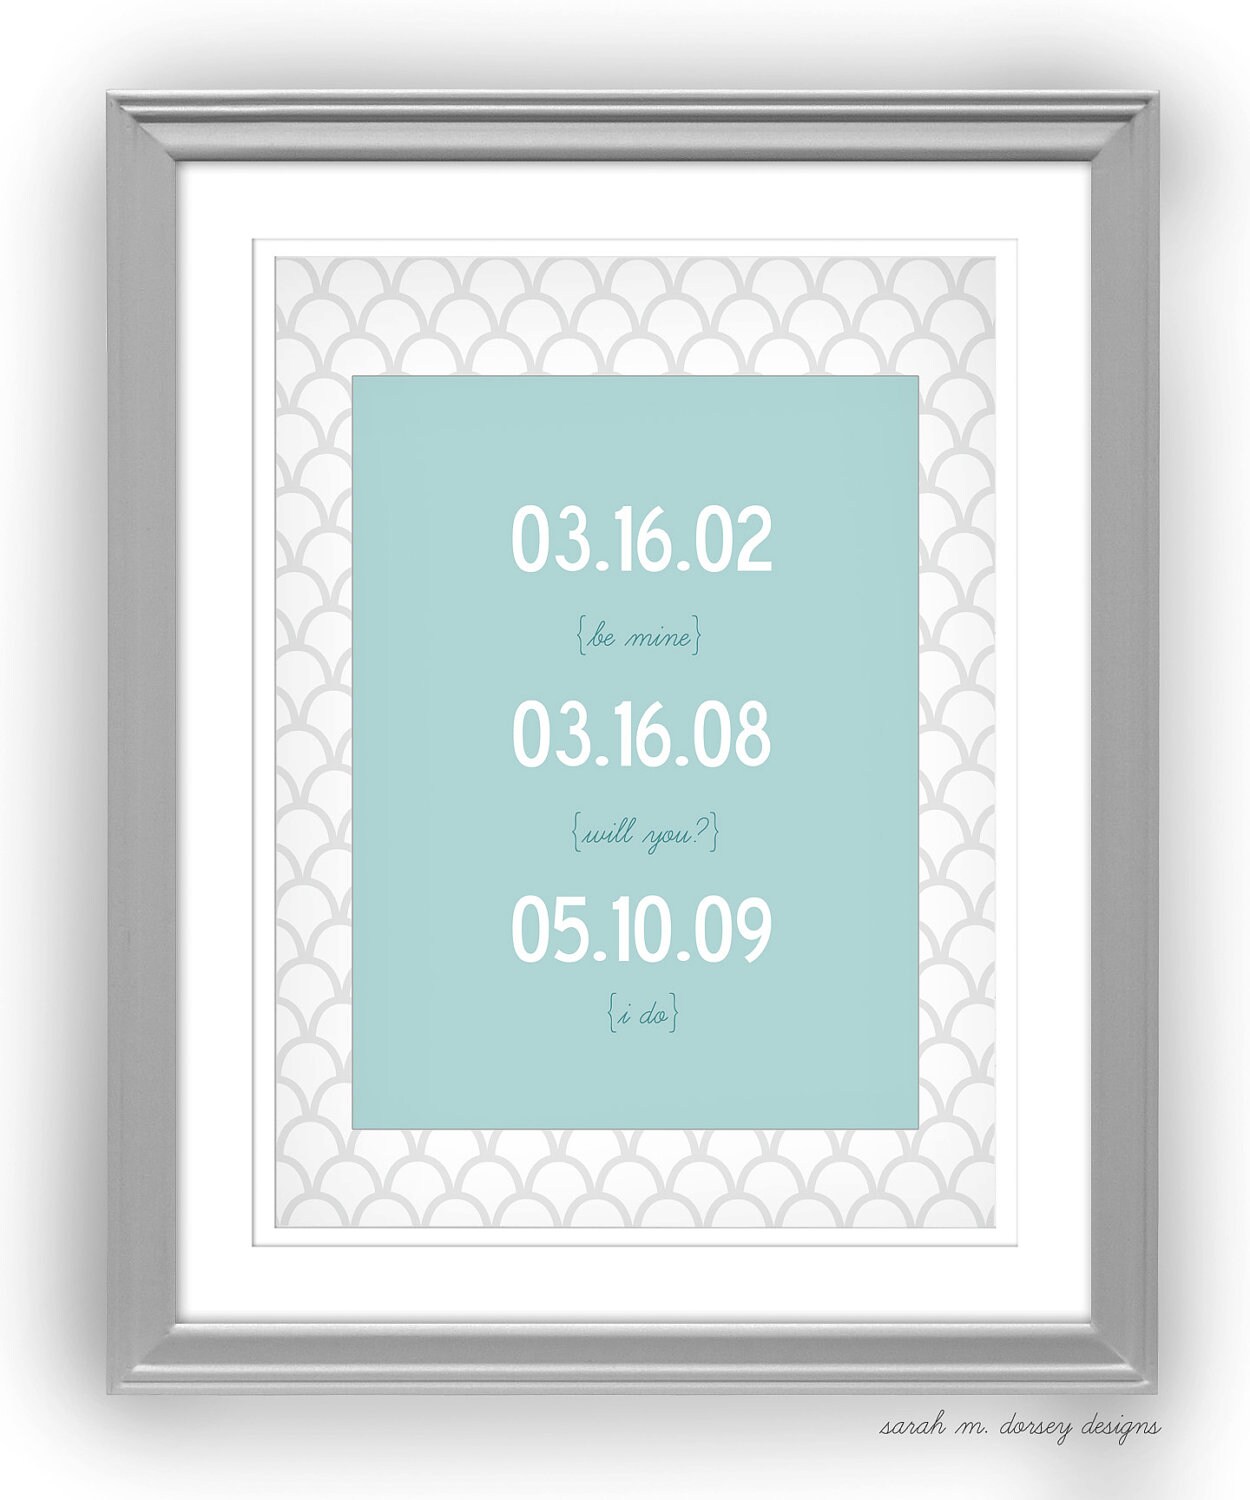
Here are a few other of my Valentine's day themed prints:

via  


via

via
Feel free to stop by and check out the rest of my shop!

--

I'm finishing up my most recent lighting project, a pendant light in the office, stop by tomorrow for a look!


Proposed Kitchen and Master Suite Remodel

While we were in MD for Christmas, we took measurements of the kitchen and bedroom suite at David's parent's house. The goal is to one day rework the space so that it works better for them and increases resale value.

It is pretty obvious where David got his handiness and love for home projects, his parent's have home projects going on year round. Since building the house (a lot of it themselves) in the late 70s they have built two additions and expanded the outdoor living space by building two large decks off of the dining and living room.

Background info: The kitchen space is original to the house and everything right of thick wall (right of kitchen) is an addition. The addition added a garage underneath the master bedroom (house sits on a hill in case you were wondering how the garage fit). As you can see the master bedroom is much larger than the kitchen.


My goal was to enlarge the kitchen while scaling down the master bedroom and include extra storage space in both spaces.

Must haves:

1. Larger kitchen: more storage and counter space
2. Walk-in closet(s) in the master bedroom
3. Private master bath (currently accessible through the laundry hallway)

and here is my proposed plan:


Feel free to skip to the summary section below the 3D drawings if you don't want to read my long description :)

Starting from the bottom left of the floorplan.


Entering through the foyer, I moved the breakfast room table over to the wall and included built -in banquet seating. Moving the table to the wall will open up the walk way to create better circulation since the kitchen is expanding slightly into the breakfast room. To open up the kitchen and breakfast room, I removed the partial walls between the spaces.


The kitchen was expanded by removing part of the wall to the right of the kitchen. *Note: Since this is a structural wall, additional engineering will be needed. This allows room for an island and bar seating. The range was flipped to the other side of the kitchen and the sink/dishwasher remained intact (a good way to help cut down remodel costs is to keep as many plumbing lines as possible intact). The refrigerator was moved about 3' to accommodate extra space around the range. I included additional cabinets and counter space across from the refrigerator.

Moving right, there are floor to ceiling cabinets which I would propose for the pantry area (up high for seasonal item storage). The washer and dryer closet was turned parallel with the wall, which works well because the existing dryer vent can be reused. I wanted to include a larger laundry room, but compromised for a walk-in closet in the master bedroom.


I made the master bedroom slightly smaller by including a small walk-in closet, which lines up with the laundry closet. One of the must haves for David's parents was a large walk-in closet since they currently have just two small closets. By reconfiguring the master bath and laundry hallway, I was able to fit a large walk-in closet, with access to both the bedroom and bathroom.

The current bathroom doesn't include a window (natural light in a bathroom is definitely great when possible!), so I moved the wall over and put a double vanity by the window. The shower moved forward slightly to accommodate a water closet. Ideally, I would include a linen closet in here, but since the walk-in is easily accessible from the bathroom, a section can be devoted there.


In summary, the breakfast room will be enlarged by removing the partial walls separating it from the kitchen and a built-in banquet will open up the walk way. The kitchen will be enlarged by opening up the wall to the right (additional engineering needed). The laundry closet will be flipped against the wall but remain the same size to accommodate the walk-in closets. The master bedroom was  scaled down to a more comfortable scale, but there is still plenty of room for furniture and even a small sitting area.

I was able to fit everything on the wish list with very little compromise! I think that these changes would make the space much more functional for David's parents and hopefully help with the resale value if they decide to sell (who doesn't look for a larger kitchen and walk-in closets when buying a house??)


We've been talking about reconfiguring David's parent's master bedroom to include walk-in closets and expanding the kitchen for a few years now, so it feels great to have a plan in place! Of course, there will be changes and tweaks along the way, but this is a good place to start! His parent's just finished enclosing a porch to a rec room, so maybe we can convince them to start on this in the near future? Realistically, it will be a least a year until they start, but I'll keep you updated on any progress!


If you are interested in any of my design services, feel free to contact me at sarah.m.dorsey@gmail dot com


Powered by Blogger.