
When I saw this foo dog lamp at the thrift store, I had to have it. $5 .. check, different than any of my other lamps .. check

Here's the before. Not too bad, but I thought the two tone wasn't working ..

So, I wiped it down, taped up the socket and cord and gave it a few thin coats of this primer. (First, I attempted to sand it .. the bottom sanded, but the ceramic didn't due to the crevices .. applying a heavy duty primer should help with the durability)
Remember to wear a respirator when sanding/spray painting!

Then a few thin coats of Rustoleum Seaside, gloss

I let it cure in the garage for a few days, and that was it! Spray paint is probably the easiest/fastest dramatic update.
Next, the shade!
A few weeks ago, I Like That Lamp sent me a kit to make my own lamp shade. Since this lamp didn't come with a shade, this was the perfect opportunity to try it out! I've wanted to make my own lampshade for a while, but the materials aren't readily available in store (sometimes isn't half the battle finding supplies for a project?) Having a kit that I could customize was a great solution!

The kit comes with detailed instructions, thin plastic with adhesive backing, top and bottom rings, glue, binder clips, and an orange stick. My finished lamp shades measures 12" diameter x 12" high.
You will need, fabric (about 1 yard), fabric scissors, iron

First, you want to iron your fabric super well with steam. If there are any creases, they will show on your final shade! I used this fabric from Kravet.

The thin plastic comes with adhesive, you just pull off the backing and stick - so easy! Make sure that your fabric is straight prior to sticking.

Trim around the thin plastic leaving .5".
Finish one of the short edges by applying glue and folding the fabric over.

Next, secure the top ring. An extra set of hands helps with this step.

In addition to the binder clips, we used painter's tape too - this isn't necessary, but just helped hold everything down. This step was repeated for the bottom ring.
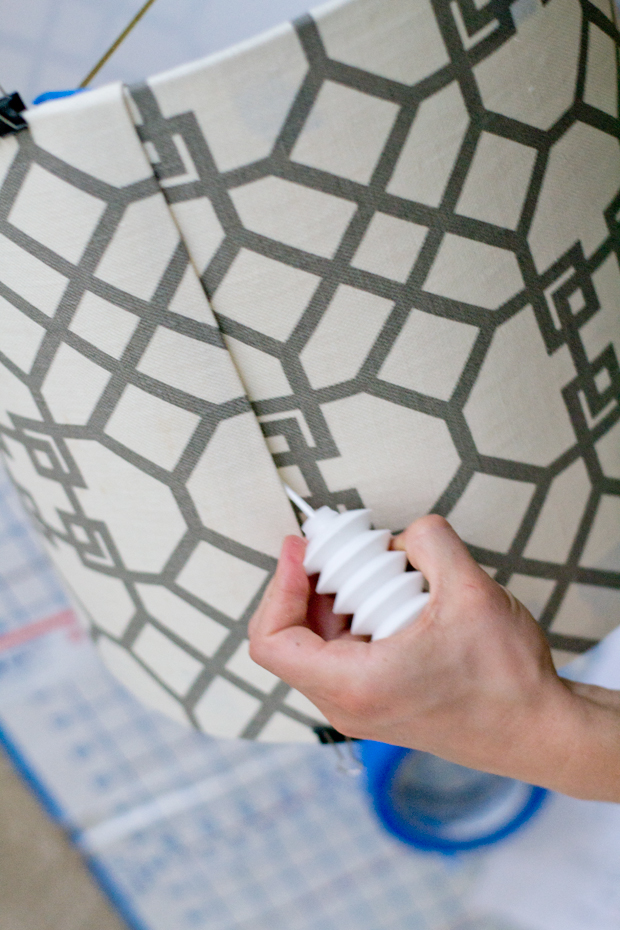
The finished edge was placed overtop the raw edge and was sealed with a little glue.

Straight drum shades can be hard to find in store - they are pricer to ship since you can't stack them, so stores tend not to stock them.
I typically prefer a straight drum shade, so this was perfect!

Thanks so much to I Like that Lamp for sending me this kit, all opinions are 100% my own!
If you're interested in browsing the kits, click here and if you're not sure what size shade your lamp needs, there's a guide for that too! (my finished shade measures 12" diameter x 12" high).
Lamps are like musical chairs in my house. I'm constantly moving them around - such an easy way to change up a space! For now, this one happily sits in my office!
p.s. I'm over at Infarrantly Creative sharing my latest project, stop by to take a look!
p.s. I'm over at Infarrantly Creative sharing my latest project, stop by to take a look!


0 comments:
Post a Comment