DIY Glass Mirror!


Today I am saying that I can't believe I asked the associate at Habitat Restore if I could leave the glass shell and just take the chandelier ... because I am in love with my new mirror!

and in case you missed it, first I started with a drum shade chandelier for the guest room.


While David and I were taking apart the glass (yes it was welded in there), he started laying glass in a circle and I said, that could be an amazing mirror! We make a great team, if I do say so myself! 

A few hours and fixed mistakes later, we ended up with this! 


We moved the desk from the master bedroom into the guest room, and the coral dresser next to the closet 


I'll be back Monday to share how I did it! Hope you have a great weekend!

Spoonflower, I'm in love

While I finish up the mirror, I thought I would share one of my recent favorite finds .. 

Yesterday while I was searching for fabrics I came across Spoonflower and to say that I am in love is an understatement ...

In case you haven't heard of Spoonflower, you can either upload your own design and have them print it on fabric, or shop from existing designs.

Also, you choose what fabric it is printed on, ranging from $17.50 to $38 per yard. Creating your custom design starts at $15.75 per yard.

Here are some of my favorites:


coral ikat

Coral Ikat by domesticate


Trellis Grey


Trellis Grey by samanthanelson


Quatrefoil- Charcoal

Quatrefoil by Melberry


 Lattice by c'est_la_viv


yellow_circles

yellow circles by holli zollinger 


I will definitely ordering from the existing designs or creating my own to be printed soon! Can't wait to try this out!

-- 

I am back to working on the mirror ... finishing it up has been a little more difficult than expected, almost done, promise :)

It is ...


A mirror! a few more finishing touches and it will be ready to hang ... it certainly has come a long way from the glass surround that I thought I was going to throw away!


Check back soon for finished photos!

My DIY Must Haves: Sewing


Today I thought I would share some of my must have sewing tools. I am definitely not an advanced sewer, but here are the basics that have helped me make drapery panels and pillow shams:

1. A sewing machine: Pretty obvious, but here are the details about mine. I have a Brother XL 2600i, and after almost a year it still works great! It is very easy to set up and use. I went with a cheaper model because I wouldn't be using it very often; however, with thicker fabric it does struggle, so keep that in mind. I purchased mine on Amazon

In addition to the standard foot, I also use the zipper foot to sew cording because it is thinner and allows the needle to get close to the cording (zipper foot was included with my machine)

2. An iron: This is so important for getting professional looking results. I always keep the hot iron nearby and press everything prior to pinning and running it through the machine.

3. Fabric scissors: Paper dulls scissors in no time, so it is important to have a pair that is just for fabric. Mine are just nice craft scissors but since I only use them for fabric, they are my fabric scissors. If you have members in your house who may forget which scissor is which, you may want to mark them, fabric only!

4. Pins and needles: Pins are great for holding everything in place prior to sewing. Remember when pinning to always point the round end towards the inside of the machine so you can take them out as you go. And needles are great for areas that need to be hand sewn. 

5. No sew adhesive: I like Heat n' Bond (I found at Joann Fabrics). This can be a great time saver or might be a good solution when sewing with the machine is more difficult, like my ruffled draperies (there was so much fabric on either side of the machine when sewing the ruffles on!)

6. A yard stick: Perfect when measuring cuts for fabric ... much better than a ruler because most cuts are over 12"

A fabric pen (designed to disappear when washed) is great for when marking fabric ... a pencil will work too if you are marking in a spot that won't be seen.

Finally, a cardboard cutting board with a grid perfect for keeping a straight line while cutting (I don't know what I would do without mine!)

and there you have it, my favorite and most used sewing supplies! Click here to see all of My DIY Must Haves

I am off to work on the glass panels ... its a lot of waiting for glue to dry ... Progress photos soon!


Folded Rope Dome Fixture Installed

My weekend project with the panels of glass from the chandelier is still in process ... I seem to oversimplify things a lot and they take a little longer than expected ... oh and barbequing with friends and the beach might of also gotten in the way :) but well worth it!

We also hung the folded rope dome fixture over the weekend! After deciding on the light fixture for the guest room, We decided to install this one in the landing above the front door, with the ombre frames


We installed it below the existing recessed light, centering it we used four small cup hooks screwed into place. We attached the rope to the hooks and a few minutes later we were done!

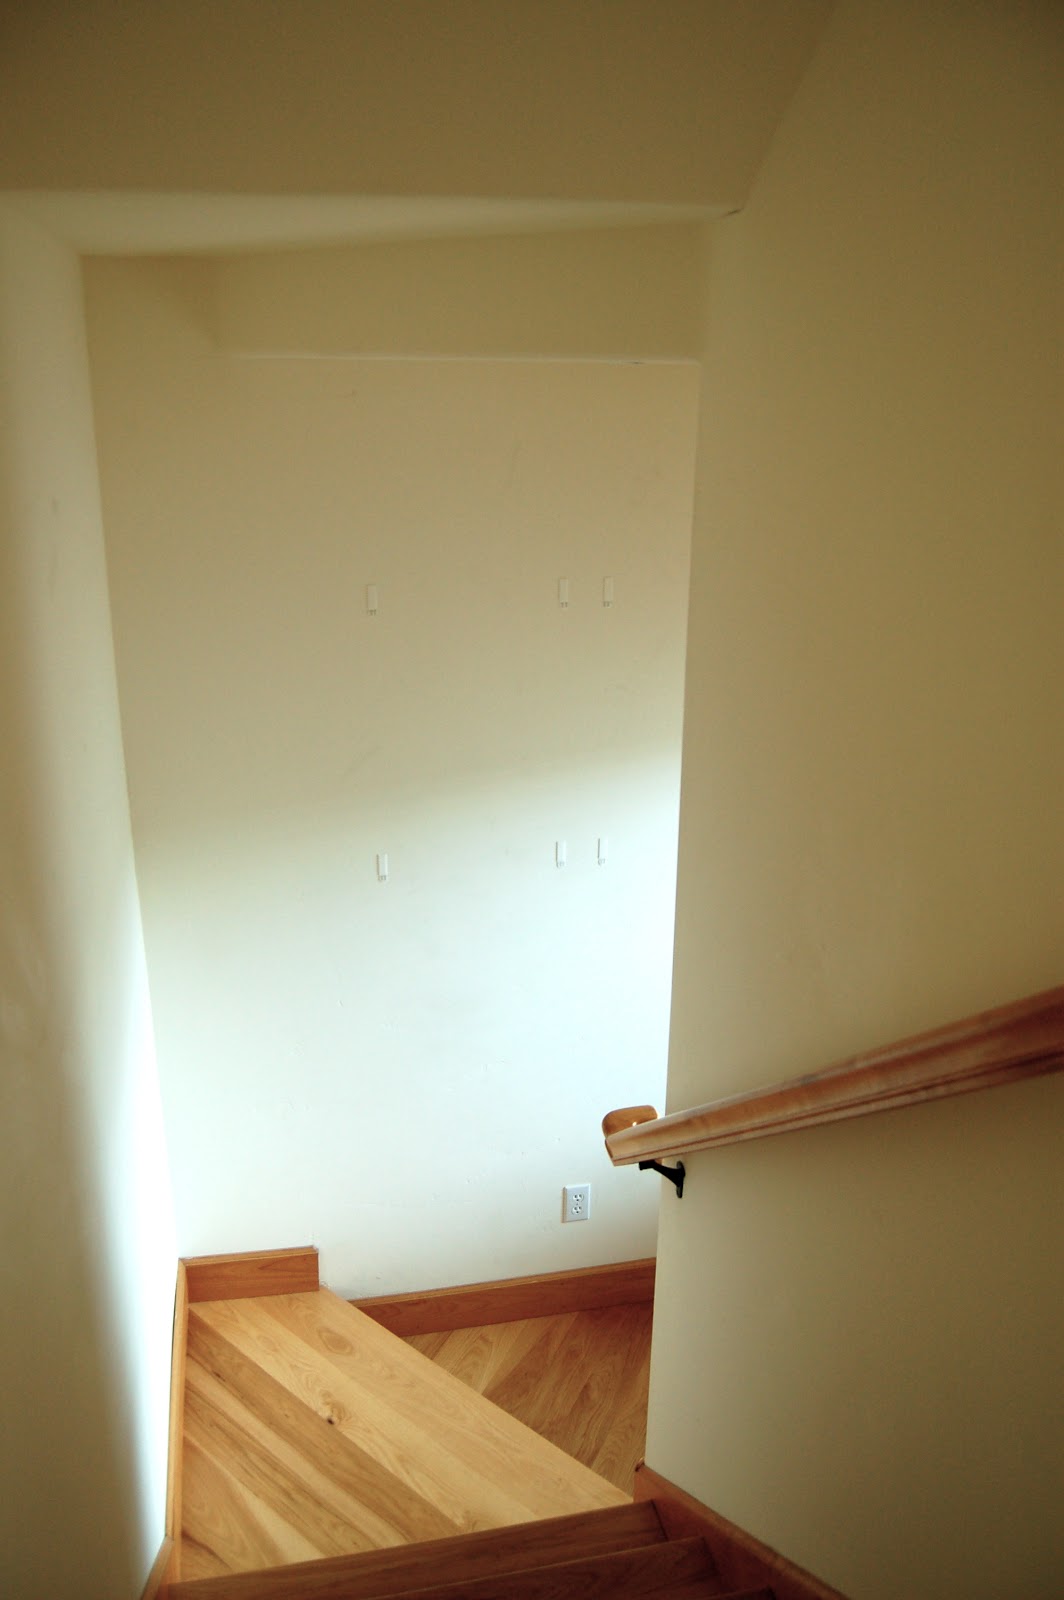
This lonely landing has come a long way!

Before: 


Now:


and a few at night, I love how it softens and redirects the light


I last left off with the rope being firm but not quite solid ... after a few weeks, the Mod Podge hardcoat did further cure and it is very hard now. I was going to apply a clear epoxy/resin coat, but it turns out mine didn't need it! 


I am off to work on the glass panels ... I'll be back soon with progress photos!

What I'm working on ...


When I picked up this massive chandelier at Habitat Restore I asked if I could leave the shade there ... well while tearing it apart (yes the frame was welded around the chandelier) we had an idea for how to reuse the glass ...


I am cleaning it this morning ... one down lots to go! The metal frame also left its mark, so I also have to go back with a blade to remove that as well ...

Check back Monday to see if our plan works!

Have a great weekend!

Breakfast for dinner and Free printables

Thursday is breakfast for dinner night here ... David's favorite meal is by far breakfast so in addition to weekend mornings we like to stretch it into Thursday night too. Pancakes, bacon and eggs ... are easy to whip up, which is perfect after a long day!

This got me thinking that I haven't made any printables for you! So in the spirit of breakfast for dinner here are some kitchen/dining room prints!


These would be perfect for a gallery wall in a kitchen or breakfast nook!

As a big thank you for following along, you can access the printable version via the link below.

click here to download the pdf
 
They print on 8.5x11 paper, but I made a border for 8x10 so that they are easy to cut out, if you choose!

Please let me know if you have any issues downloading.

Thanks again!

Powered by Blogger.