20% off at Sarah M. Dorsey Designs Etsy Shop!

This week I am offering 20% off at my Etsy shop to thank you for reading! Use the coupon code: SMDDESIGNS20 at checkout.

Recently I've added two stencils:
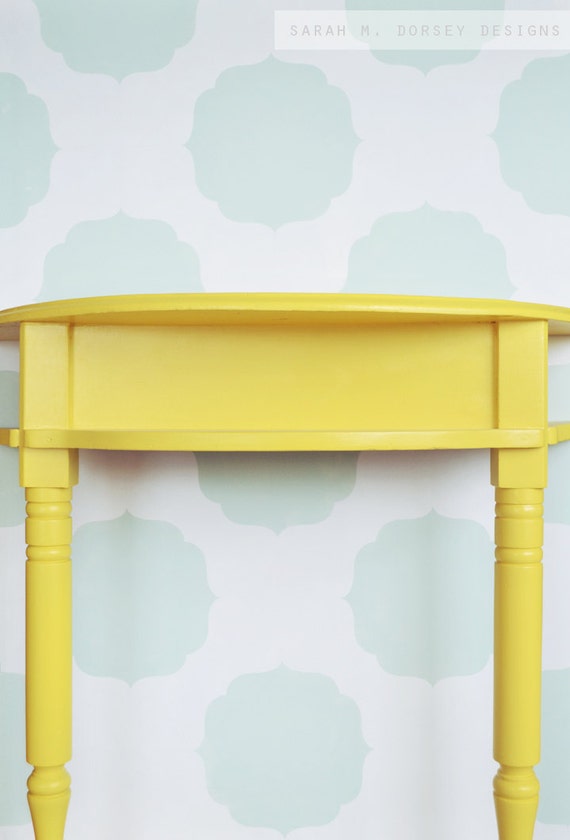

A moroccan style medallion, a smaller version of my rug stencil ... I am loving this mint and yellow combo!
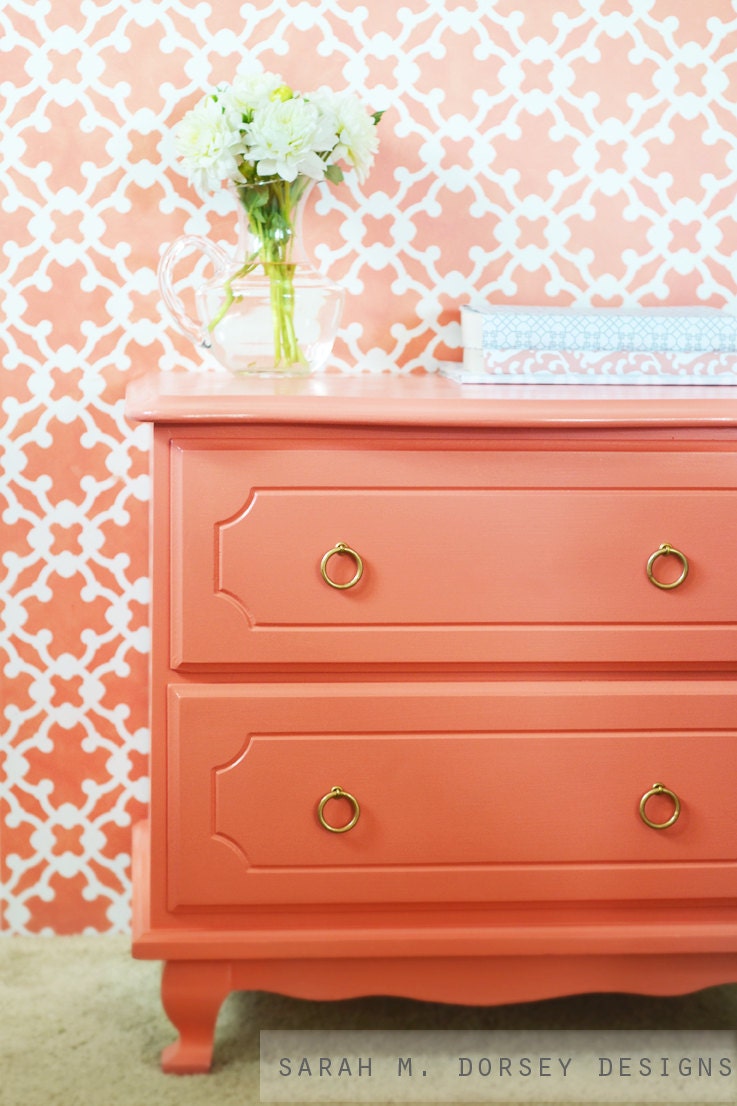

and a fretwork inspired stencil as pictured with my coral dresser

I also added a pre drawn pet silhouette print option to the shop at a lower price than my custom drawings, with choice of background
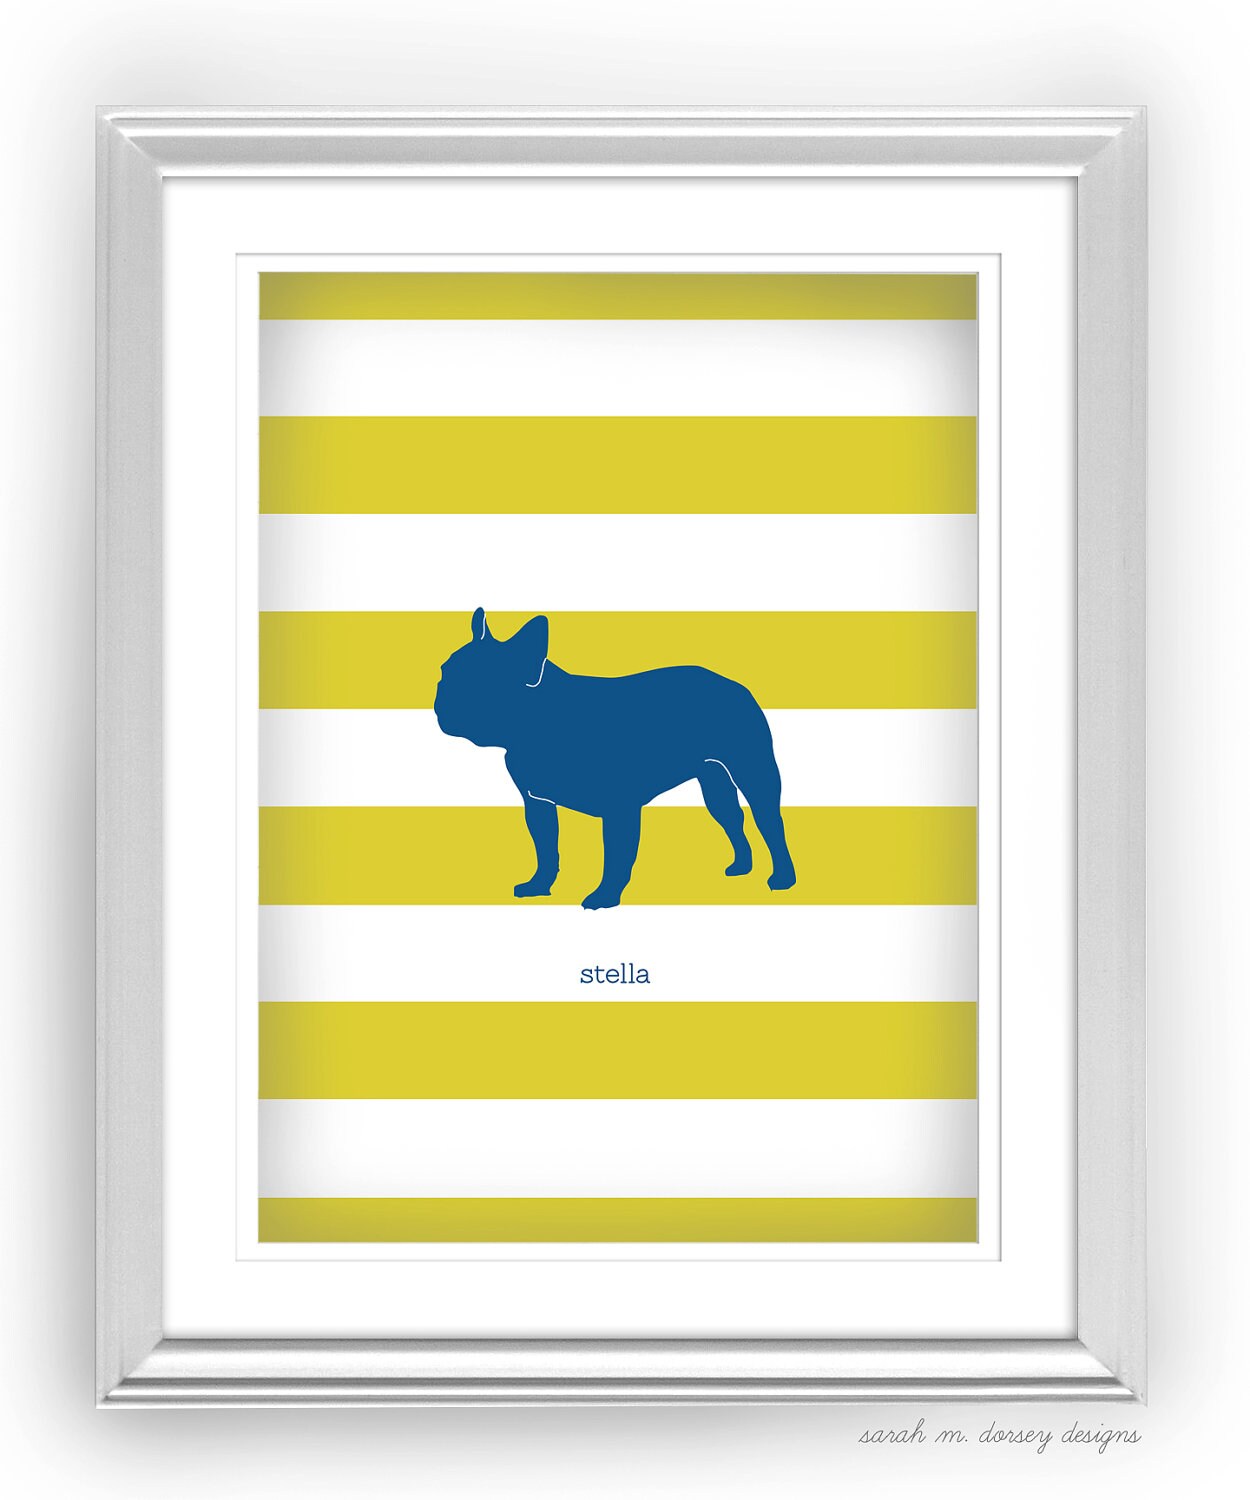
stripe ...
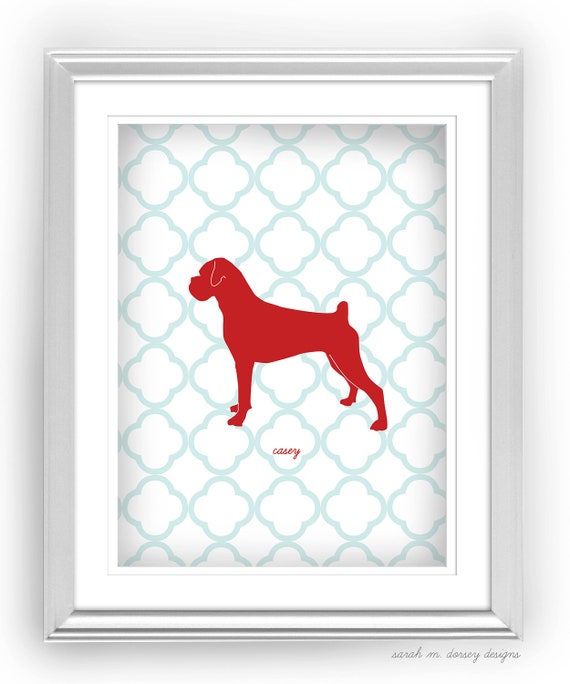
quatrefoil ...
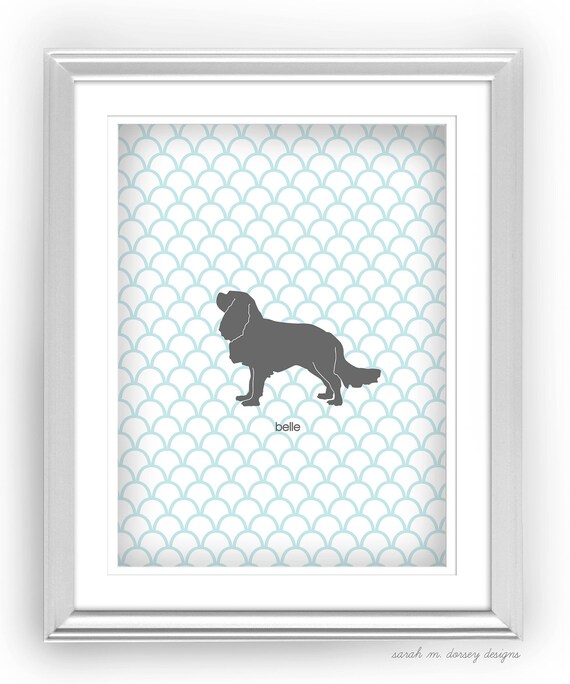
or scalloped

Hope you enjoy!

Coupon code: SMDDESIGNS20 is good for 20% off any order for the next week!


Fall Porch and Outdoor X table

Over the weekend I finally finished my fall entry ... 


We built an X leg table out of extra fence posts (it took only 1 1/2 6' posts)


The top was constructed of three 20" fence posts with sides that were screwed into place.


The angles for the x were determined by drawing a rectangle for the height and width, laying posts in an x and drawing lines for the cuts 


A small piece of board was cut to even out the sides and the legs were screwed into place. And that's it, so easy and only took about 1 hr and a few dollars!

I added a few pumpkins ...


I spray painted one white and added gold polka dots with liquid gold leaf and cotton rounds cut into a smaller circle. 

I love the bright yellow and red straw flowers! 


I also painted the top and bottom of a little pumpkin with liquid gold leaf after spray painting white. 


The gold magnolia wreath is holding up well! The leaves have dried out, but it is holding up well to the gusty wind that we've been getting recently.

It is finally starting to feel like fall here, so I finished just in time :)

Weekend in Photos | Lots of DIY in the Works!

Sorry for no post on Friday, last week I was a little under the weather and it finally caught up with me.

This weekend was productive though! Including a lot of DIY projects in the works ...


Saturday we picked up the remaining supplies for the credenza in the the office area!

Then we got to work - it took a little extra planning because we are reusing some cabinet doors, which required us to stick to some specific measurements. (top right) Here it is on its back looking from the side, David is working on installing the front cabinet doors. The spacing was tricky, accommodating for the the hinges and door movement, but we have two installed, two to go! Now we have the interior shelving, the top and the legs to go.

And while David was working on the credenza, I started a little outdoor table made out of left over fence posts from our planters, here and here. It is now sitting by our front door, photos soon!

Finally, last night I cut out a smaller version of the Moroccan rug stencil to use as a wall stencil (for sale in my Etsy shop). We also worked on the trellis stencil from last week, but didn't make any final decisions so no finished shots yet.

See you soon with some finished pictures! And if you wish to see some of my process shots (as well as a few of my cute puppy), you can find me on instagram at sarahmdorseydesigns

Office Update + My Etsy Shop at LeLe Pets Today!

The printer/paper situation is a little out of control in my office (the other half of the living room) ...  two printers, a silhouette, and scanner take up a lot of room, currently they are hanging out on two side tables and wires are everywhere which = me not happy!

So to combat the printer, paper, and wire situation we are building a credenza to nicely tuck it all away. We are still gathering supplies ... but here is what I have in mind.


The plan is for it to sit under the floating gallery wall and have 4 doors to easily access everything.


I've also been thinking about swapping my current desk for one that is narrower and longer, changing out the overhead light for a simple drum shade, and more comfortable desk chairs.

After searching for months, I recently found a great source for vintage office chairs from Jenny at The Little Green Notebook and found a pair of Eames molded plastic chairs for $189 plus $75 shipping for the pair!!


The fabric definitely needs to go, but for genuine Herman Miller chairs I'll take it (you all know that I love a makeover anyways!)

Also, the renderings of my office were completed in Sketch Up and I am playing with the rendering plug in Maxwell Render. I wanted to try out the free version (lower resolution images) first before the full version.

So happy to see the office coming along!

Also, I'm finishing up my fall decor, photos soon!

--

And last but not least, today I am selling my animal silhouettes prints for 20% off at LeLe Pets, stop by today to take a look! Sale starts at noon pacific time.


LeLe Pets is a member only site, you can click here for your invite

Fall Decor: Gold Magnolia Wreath


When it comes to seasonal decorations, I like to keep it pretty simple. This year for fall, I decided to make a wreath and after seeing Britt's fall inspiration from Gus & Lula.

I decided to use magnolia leaves because I liked the shape and thought the thickness of the leaf would hold up well. Since I am using real leaves, I don't plan to keep it past the season, but I hope that it holds up for the next few months.


I gathered some leaves ...


cut a 14" foam floral wreath in half so it will sit flush on the door and I'll have one for Christmas, thanks for the idea Pinterest!


I then poked diagonal holes with a meat thermometer ...


filled with a little craft glue and put the leaves in at an angle. I ended up with about three rows of overlapping leaves.


Once the glue dried (about an hour or two) I sprayed it with Krylon's gold spray paint


I used a 3M hook to mount it to the door, tied ribbon around the wreath fairly tight so that it wouldn't move as much, and attached it to the hook.


Total cost: foam wreath was about $4 (Michaels with 40% coupon) and gold spray paint was also about $4 (Michaels with 40% coupon), leaves were free!

about $8, plus I have the other half of the wreath to use later!

Total time was about an hour or two ...

I'm working on the rest of our porch decor, stop by soon for pics!

Weekend in Review + What I'm Working on


This weekend we took a trip down the coast to visit Santa Barbara, the outlets and a few antique shops north of LA.

I found these great knobs at Anthro in the clearance section. I'm hoping to use a set on a printer/paper storage cabinet that we are working on.

We visited Avila Valley Barn where I found these beauties, apparently everyone in slo county had the same idea ... it was packed! I'm finally working on some fall decor!

and we started designing a new stencil, still a ways to go, but it is beginning to take shape!

I'm off to work on my fall wreath/porch, photos soon!

Color me Coral

This post has been sponsored by Sherwin-Williams. All opinions are 100% mine, if you've been reading for a while, you probably know that :) 

Over the weekend I started painting this dresser that I picked up at a thrift store a few months ago, solid wood (maybe oak?), dovetail drawers, for $8 - yes please!


It doesn't look too bad in the photo above, but looking a little closer, it had been repainted with a thick nap roller, leaving a textured surface. 

Using good supplies/techniques and will produce a much better result and save you time if you ever decide to repaint. Read on to see what supplies I like!


Enter in lots of sanding ...


I used my orbital sander with 60 grit sandpaper to remove most of the textured surface, and then went back over with a 120 grit sandpaper to smooth everything out. 

I patched a few holes with wood filler and filled the holes from the old hardware. One was broken so those definitely needed to be swapped out. I decided on brass ring pulls, so new holes were drilled about 6" from the edge.


After removing the dust with a microfiber cloth, I used SW Premium Wall & Wood Primer, I find that it has good coverage and adhesion, gives a smooth result while creating a surface that the top coat adheres well to. 


After allowing the primer to dry I used a fine grit sandpaper to quickly sand the surface. I then wiped it down with a microfiber cloth to remove any dust.


For the top coat, I decided to use one of my favorite paints, SW Pro Classic, it is water based with a hard enamel finish like an oil based, but without the fumes and the brush cleans up with water. The enamel surface is ideal for furniture in high traffic areas for maximum durability. 

I used two thin coats and mixed in a little XIM extender to level out any brush strokes prior to drying. The key to reducing brush stokes, is using thin coats and not over brushing, it will level out when it dries. My favorite brush is the Purdy Clearcut Glide 1.5" and 3".  

I decided on SW Ardent Coral, a fun, bright, pink coral for the top coat. I'm most likely putting it in my closet for additional storage, but before I move things around I took a few photos with my new stencil.


I picked up a partial piece of drywall at Habitat Restore for $2.50, and plan to use it to try out my new stencils. Stenciled wall is also SW Ardent Coral.


I made my DIY Brass Ring Pulls for the hardware.


Much much better than the previous textured surface! And I love the bright pop of color, making it a great accent piece!  

Stencil is now available through my Etsy shop, click here to view 
Powered by Blogger.