Hey! I'm back! Today I'm sharing how to make a super easy cedar planter - perfect for container gardening!


Start laying our your sides. (two sides will be 23" and two sides will be 23.5") Cut thin strips, place .5" from the bottom (to account for the base, use a spacer and mark with a pencil) place it about 2" from the top (mine measured 13.5")

Place three screws per side, and secure the boards together. (make sure to take into account the placement of the bottom supports, I had to move mine so they wouldn't hit ..)

Start constructing the box, the 23" sides should be facing each other and the 23.5" should be facing each other.


Attach the base, using screws from the side of the bottom board.

Finally, attach the 5.5" x 5.5" feet on the bottom of the planter with 4 screws (I inset mine about .5")

Load up with your favorite plants and enjoy!

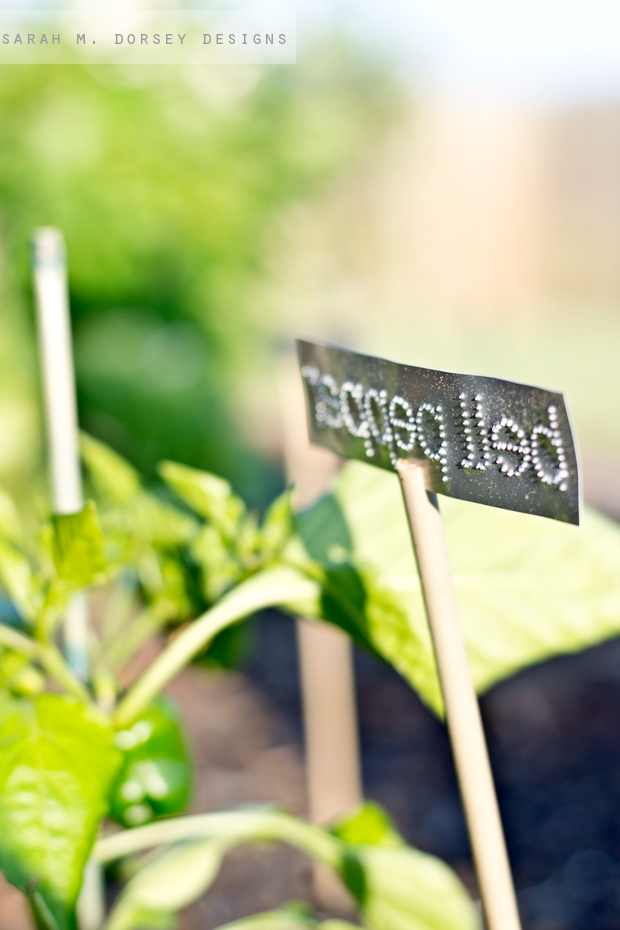
I moved our DIY aluminum plant markers over ..

It was hard to capture the size, but it is HUGE! We wanted something big and deep (hopefully our plants will make it!)
David made one the night before and I made a second one the next day in about an hour, super easy! Total cost for the cedar was about $15, buying planters this size would easily be $100, so DIYing was an easy choice!
--
On a personal note: one of the reasons why posting has been slower recently is because we had to move .. again .. (our TN rental). We were renting from a coworker of David's - he was supposed to go to another job, which unexpectedly got cancelled .. and he got transferred back to TN, so we had to move out .. (we built this planter so that we could move our plants with us ..) David's job requires moving, sometimes it's unexpected and sudden ..You may know that we've moved a lot recently .. It's been stressful and draining, but it has had me focus on what really matters .. in the grand scheme of things, moving isn't too bad, it could be A LOT worse. Just wanted to keep you updated on what's going on! :) The advantage of moving? I get new ideas that I can't wait to try, stay tuned for some fun projects!
Here's what you'll need:
- Cedar fence planks: 6' x 5.5" (qty 6) (cedar will weather well, also, make sure NOT to get pressure treated pine, especially if you're growing vegetables as it's treated with chemicals)
Cut list:
sides: 23" (x6) 23.5" (x6)
bottom: 23" (x4)
feet: 5.5"x5.5" (x4)
Wood to tie sides together (about 1" wide) ideally cedar.
- 1" Screws
- Saw (preferably chop saw, we used a jig saw)
- Drill
First, lay out the bottom (23" sections x 4) secure together with thin board. The tops of the fence planks help with drainage.
**Note: I used pine since I couldn't find thinner cedar and we don't have our table saw. Ideally we would have ripped down the cedar planks into smaller sections. Pine doesn't weather well - down the road, we will most likely replace with cedar.
Start laying our your sides. (two sides will be 23" and two sides will be 23.5") Cut thin strips, place .5" from the bottom (to account for the base, use a spacer and mark with a pencil) place it about 2" from the top (mine measured 13.5")
Place three screws per side, and secure the boards together. (make sure to take into account the placement of the bottom supports, I had to move mine so they wouldn't hit ..)
Start constructing the box, the 23" sides should be facing each other and the 23.5" should be facing each other.
Attach the base, using screws from the side of the bottom board.
Finally, attach the 5.5" x 5.5" feet on the bottom of the planter with 4 screws (I inset mine about .5")
Load up with your favorite plants and enjoy!
I moved our DIY aluminum plant markers over ..
It was hard to capture the size, but it is HUGE! We wanted something big and deep (hopefully our plants will make it!)
David made one the night before and I made a second one the next day in about an hour, super easy! Total cost for the cedar was about $15, buying planters this size would easily be $100, so DIYing was an easy choice!
--
On a personal note: one of the reasons why posting has been slower recently is because we had to move .. again .. (our TN rental). We were renting from a coworker of David's - he was supposed to go to another job, which unexpectedly got cancelled .. and he got transferred back to TN, so we had to move out .. (we built this planter so that we could move our plants with us ..) David's job requires moving, sometimes it's unexpected and sudden ..You may know that we've moved a lot recently .. It's been stressful and draining, but it has had me focus on what really matters .. in the grand scheme of things, moving isn't too bad, it could be A LOT worse. Just wanted to keep you updated on what's going on! :) The advantage of moving? I get new ideas that I can't wait to try, stay tuned for some fun projects!