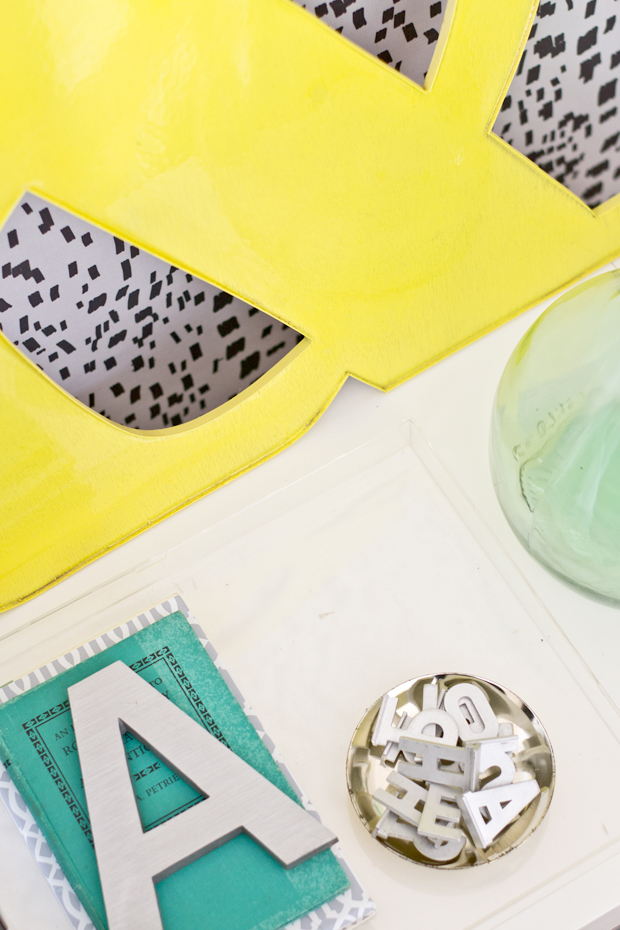
I've admired large, vintage letters repurposed from buildings, but I've never found one within my budget .. Today, I'm going to show you how to make your own vintage inspired, glossy letter for just a few dollars!
This is super easy - promise! We were able to finish it in about 2 hours (not including resin drying time).
Materials:
1/4" Plywood or MDF (I used a 1/4 sheet)
Veneer edging (available at home improvement store in the lumber section)
Heat gun or iron (heat gun recommended, it is much easier and faster)
Spray paint
Resin (available at any craft store)
Tools:
Pencil
Jigsaw
Scissors
Projector (or free hand or get printed large scale at copy store)
To get started, print desired text on 8.5x11 paper and project onto 1/4" Plywood or MDF. Trace the outline with a pencil. If you don't have a projector, free hand if you're comfortable or get it printed large at a copy store, cut it out and then trace it. (Image below taken from my marquee letter tutorial).
Next, cut it out with a jigsaw. *Tip: when you get to a corner, back the saw out and cut at an angle towards the next point, go back once complete and cut off the extra pieces.
To cut any enclosed areas, drill a hole and then cut out with the jigsaw.
Next, apply the veneer edging. I used a leftover piece from my oversize cork board, so it's thinner than the standard edging. Just make sure that it creates a raised lip around the edge to hold the resin.
Carefully use the heat gun to apply the veneer edging, melting the adhesive. It helps to have an extra set of hands to hold the edging in place (away from the heat) while the other uses the gun. An iron can also be used, but a heat gun is a lot faster - also it would be tricky to use inside the letter.
Seal any gaps (on the back and joints) with glue to prevent the resin from seeping out or apply caulk on the front prior to painting (this is important, mine is a little thinner than planned since it seeped out some)
Spray paint the front. I used Liquitex Cadmium Yellow Light Hue.
Get a glossy finish! Once the spray paint has dried, apply resin to the front. Mix per directions and carefully pour on top. To ensure even coverage, move the resin by picking up the letter and tilting it so the resin floats over the entire surface. Let it dry (24 - 72 hrs), per instructions, on a raised flat surface with cardboard or paper underneath.
That's it! Enjoy your custom, affordable letter reminiscent of vintage building lettering!
This would be perfect in a gallery wall or simply leaned against a wall.
I love the glossy finish!
This was so easy, I can't wait to make more!
I hope you'll give it a try!!
Also in the tutorial:
Ikea Expedit Birch Plywood TV Stand
Fabric Panel wall
p.s. check out my thrifted finds from the weekend (on Instagram) here, here and here!


0 comments:
Post a Comment