Update: Christmas decor and Door project

This week I've been working on some diy Christmas decor.


I'll show you how I'm using them next week, but you can probably guess that at least some of it will be going on the tree!


We also worked on the door project. Still very ugly, but I am hopeful!

I'll be back Monday with an update!

It is supposed to be rainy for the next few days, so looks like it might be an inside projects kinda weekend.

Hope you have a great weekend!


Finds at Marshalls

Yesterday I stopped by Marshalls and it didn't disappoint! Here are a few things that caught my eye. 


Beautiful pillows with down inserts, I believe they were $16.99. I thought about it for a while, but these didn't make it in my cart. I already have too many pillows! 


 A cute gold polka dot dog bowl. I think this is the most stylish dog bowl I've seen!


 and metallic scalloped candles. These would be perfect for the holidays!

Has anything caught your eye recently at Marshalls?


Fabric for Eames Chairs

First off, I wanted to thank everyone who placed an order through my Etsy shop during my holiday weekend sale. It is so nice to see that so many of you like my prints and stencils, thank you so much! I am busily working on getting to all of the digital proofs and shipping orders!

Over the weekend I ordered fabric for the Eames chairs, the purple blue, stained, torn fabric had to go, I wouldn't even sit on it without plastic, yuck!


After going back and forth between a pattern and a solid I ended up with a solid since if I get tired of it, I won't have to reupholster.

I went with West Elm's Basket Weave in putty gray (bottom right)

Since these chairs will be getting more use than the caning chair, I wanted something that would be durable. Since this is upholstery grade, it should hold up well!

We also got started on polishing the base with our dremel tool. I let David have control over this one since he has experience polishing car parts. He really likes it, and was excited to get started. Whew! Missed that one, polishing sounds about as fun as sanding to me.


Looking much better! It looks a little gold in this photo, but it's just the lighting - no rub n' buff applied.

I can't wait to get these chairs in the office, I'm tired of sitting on the dining chairs! 

DIY Christmas Gifts: Round Pet Bed

In the next few weeks, I thought I would share some simple DIY gift ideas for Christmas. I know the handmade, unique gifts are always my favorite :)

Today I am starting off with how to make a round pet bed without a pattern. If you don't have a pet, next week will have a gift for everyone!

So why no pattern? I found a bed that I liked, but couldn't find a pattern online or in store, so I decided to figure it out as I went. Sometimes that's part of the fun. Right?


The only thing that I purchased for this project was the fleece for the top, the rest was gathered from projects past. This is the perfect use for scraps of foam!

Here we go: 


Cut out a circle of fabric. Mine was 38" in diameter. I place a dot in the center and holding a ruler in place measuring half of the circle (19") and mark with a pencil or fabric pen. Holding the ruler on the dot, I rotate till I have a circle and then cut. 


Cut out pieces of foam approximately mimicking the shape leaving room to sew in between  (thinner is easier to work with - my center was a little high at 1.5") The side pieces of foam are optional you can just use poly fill, but I figured since I had it I would use it.


Cut out a fleece circle about 2" smaller than the outer fabric. Pin in place. You want to leave plenty of room for the hem on the outer fabric, about 2-3" is good.


Sew around the inner foam circle (1" or less is easiest to work with)


Sew between outer foam pieces (or where the poly fill will go), starting at the fleece and sewing to the center


Stuff the side pockets with poly fill and pin in place.

For the last steps I forgot to take pictures. Sorry! If you have any questions feel free to ask! Here are the instructions for attaching the ties so that the bed can be adjusted to lay flat or cinched together. 

1. Cut 6 strips for the ties: about 18-24" long and 3/4" wide: I used fleece so I wouldn't have to sew the edges
2. Sew the center of the strip on the center of each of 6 sections, on the very edge of the fleece connecting it to the outer fabric - I just sewed a short line back and forth so that it would be durable. The ties will come through openings above the center seams next. 
3. Fold the outer hem to turn under the raw edges, pin in place and then trim holes for the ties to come through. Each opening will have two ties coming out.
4. Finish the edges. I rolled the hem under and hand stitched the finished edge, since I found it too difficult to use the sewing machine. Heat n' Bond no sew adhesive should also work, just make sure not to attach the ties to the bed, so that you can still adjust them.


I promise she does like the bed, she has recently gotten into a mood where she doesn't like getting her picture taken, hopefully she will grow out of it!


Annabelle likes to push against the side so it supports her, smart girl!


So far I've made two beds like this for Annabelle and she loves them!

I'll be back next week to share another DIY gift idea!


Thanksgiving Weekend and Project Updates

Here are a few instagram highlights from our long weekend!


1. David and I picked up a Santa hat for Annabelle, is she excited to try it on or chew on it? Yep, definitely chew, she was looking for it the rest of the night. Hopefully we will get a good photo in front of the tree, but I'm doubtful! 2. We started putting up the tree - David is the master light stringer as I like to put it. We've already went back to the store once to get more lights and we still need one more. David says that we got rid of some that didn't work last year, I say he put them closer together :) 3. We started polishing the base of the Eames chairs with our Dremel tool fine grit sandpaper and polishing supplies. It looks a little gold in this photo, but it's not (must be the lighting) 4. I have an idea for two closet doors that we picked up at Habitat ReStore. It is currently in the works, I'll keep you posted!

We also went to Shell Beach shortly before sunset yesterday.


In attempts to get a good photo with Annabelle, I said "Where's David?" (before David gets home, I tell Annabelle that David is coming home soon, and she proceeds to get very excited and wait for him by the stairs) She also gets very excited for "Where's David" I guess because it sounds similar to her, so she licked my face ... 

and mouth 

These were best we got, she was too excited to explore the beach!


We left just as the sun went down ...

It was a great weekend!

I'll be back soon with project updates! 

--

Tonight is the last night for 30% off my etsy shop, use code: HOLIDAY30 at checkout


Holiday Weekend Sale

Sorry I've been MIA for the past couple of days, I've been busy getting ready to host our first Thanksgiving. We had a few friends over and it was a success! We wish our families could of been with us too, but being so far away, traveling to the east coast or vice versa wasn't an option for both Thanksgiving and Christmas, so we'll be there for Christmas.

David and I made our first turkey using Alton Brown's recipe, it was very good, I would highly recommend if you are looking for a new recipe! (I did cut the brine recipe down to fit in a turkey roasting bag since I didn't have a 5 gallon bucket or the space in the refrigerator. Just make sure to put it in something to catch the liquid in case it leaks) 

I''ll be back next week, but to kick the holiday season off, I'm offering 30% off my etsy shop this weekend. Use code: HOLIDAY30 at checkout.

Here are a few popular gift options:
 
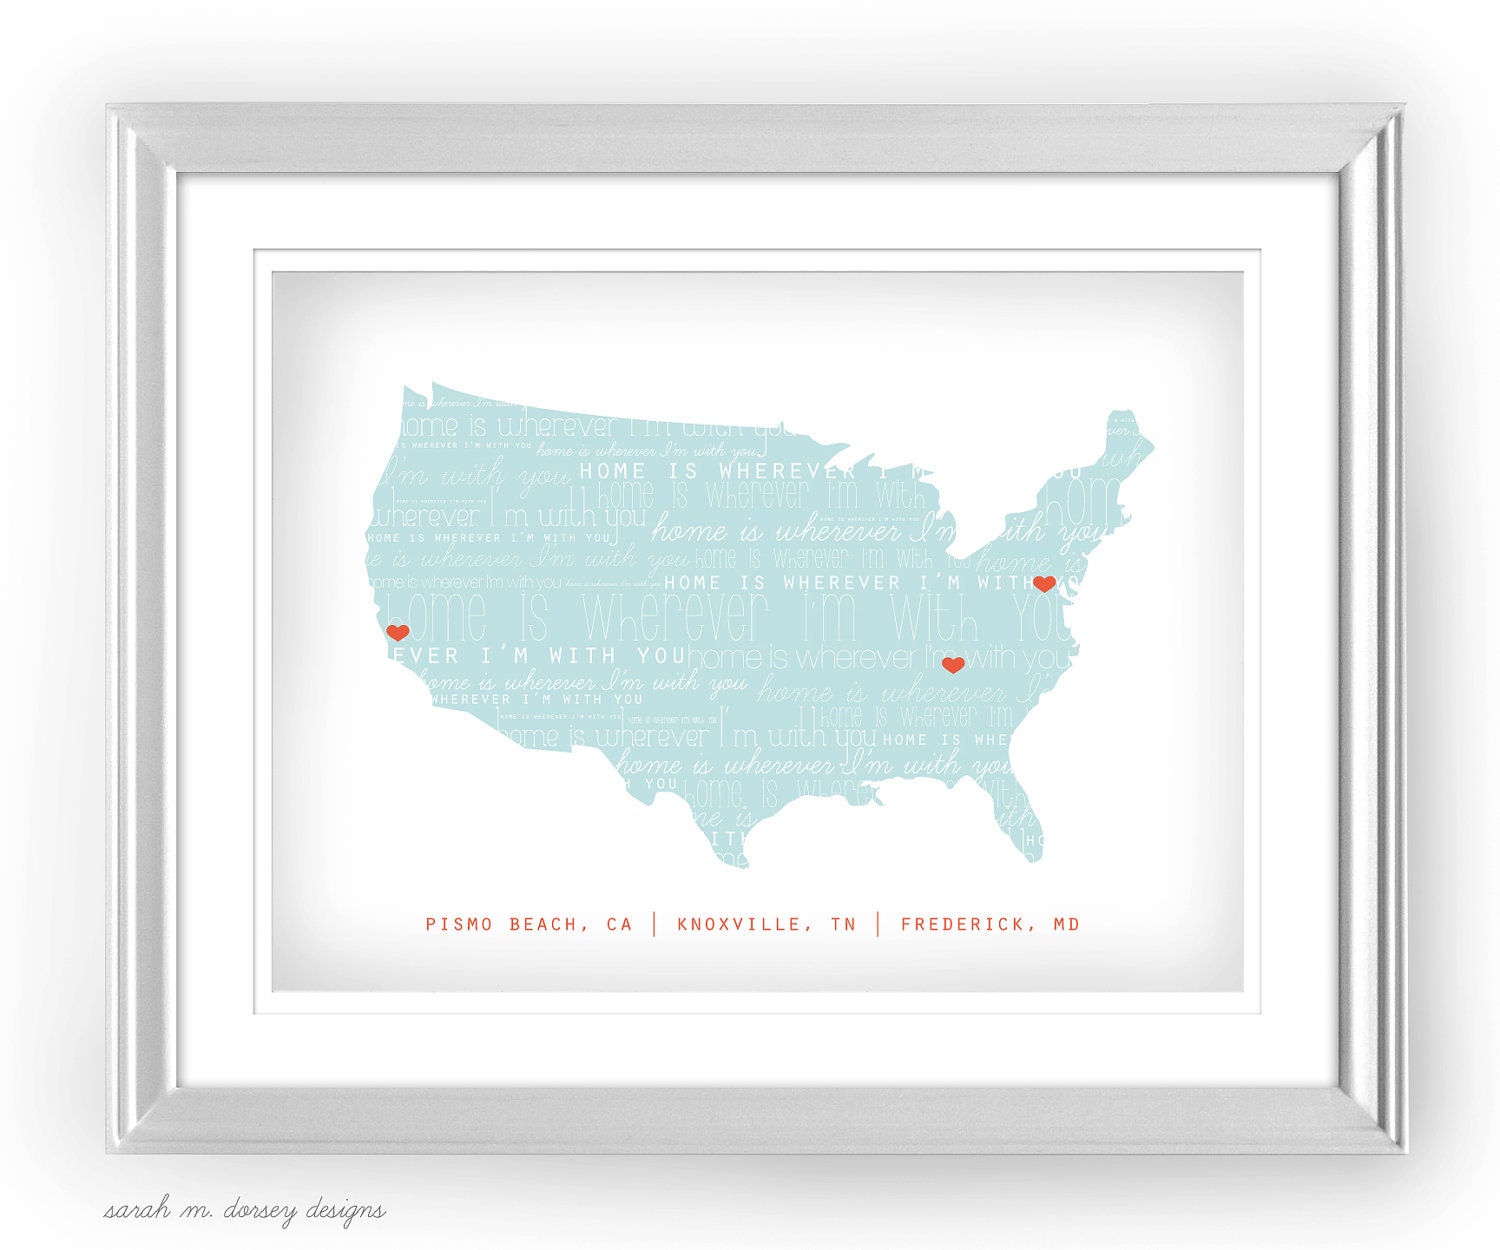
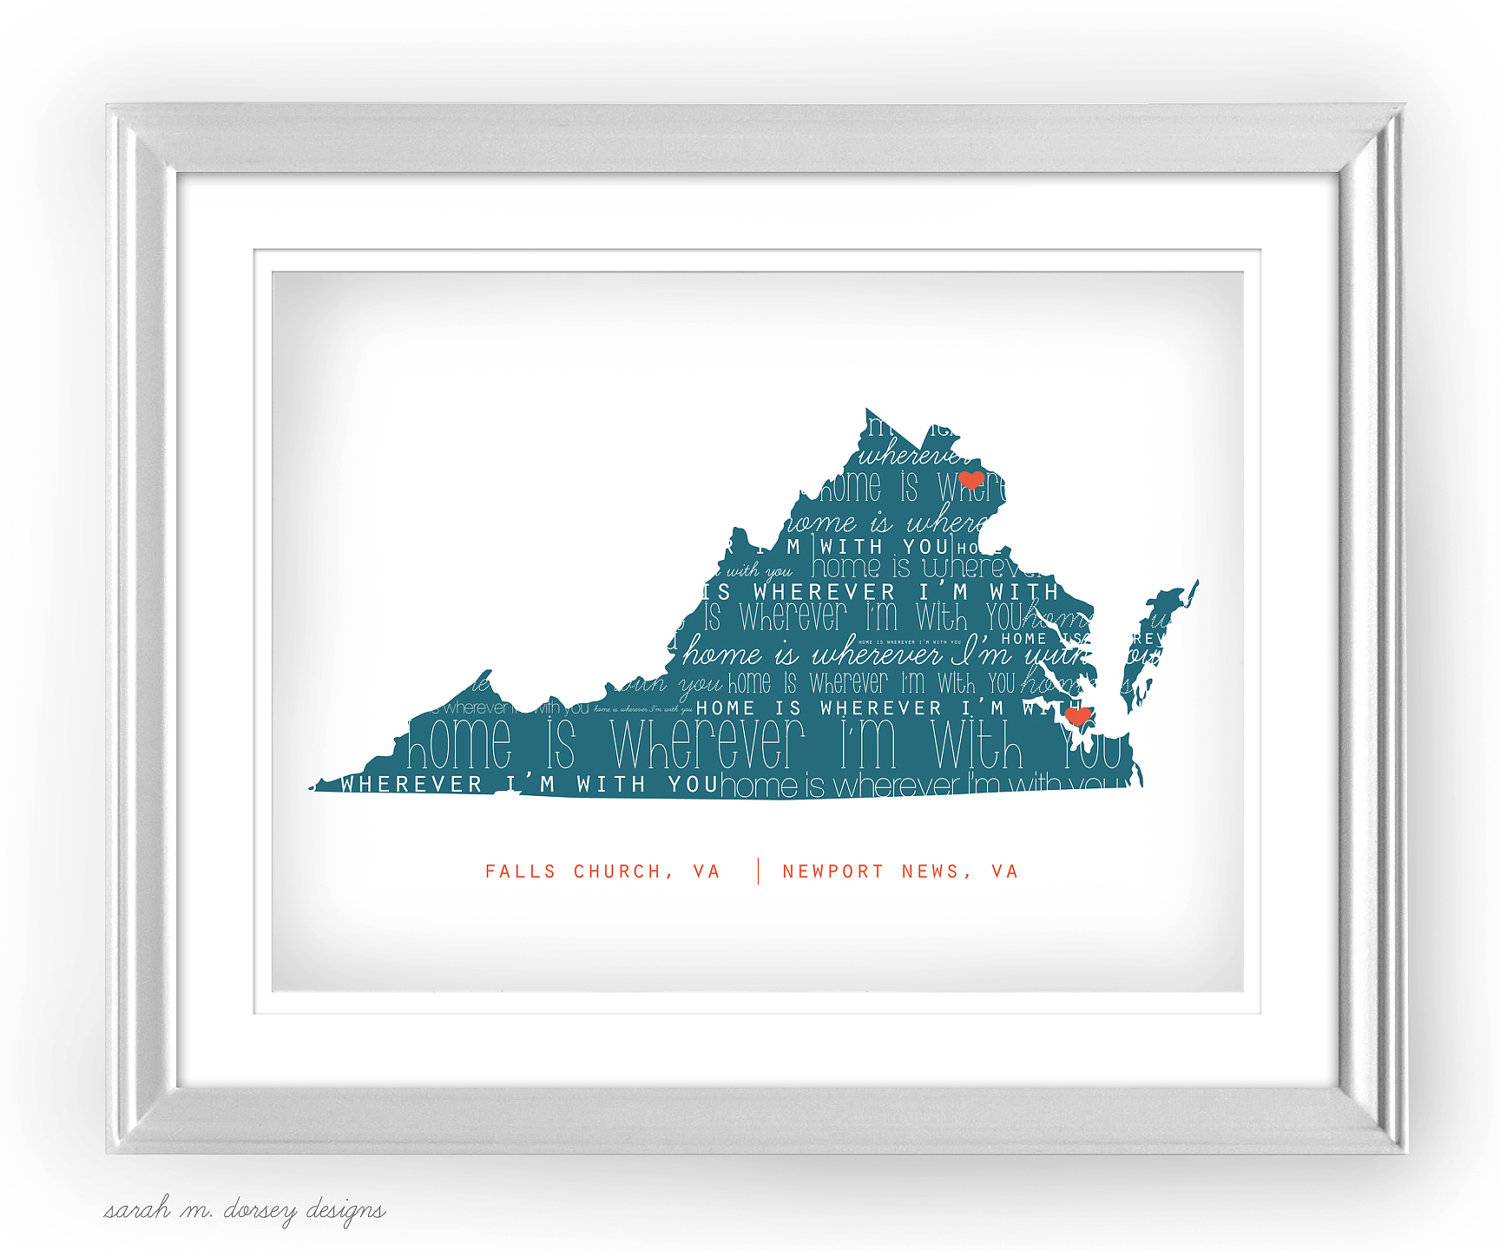
Customizable map of meaningful places or of just a state here 


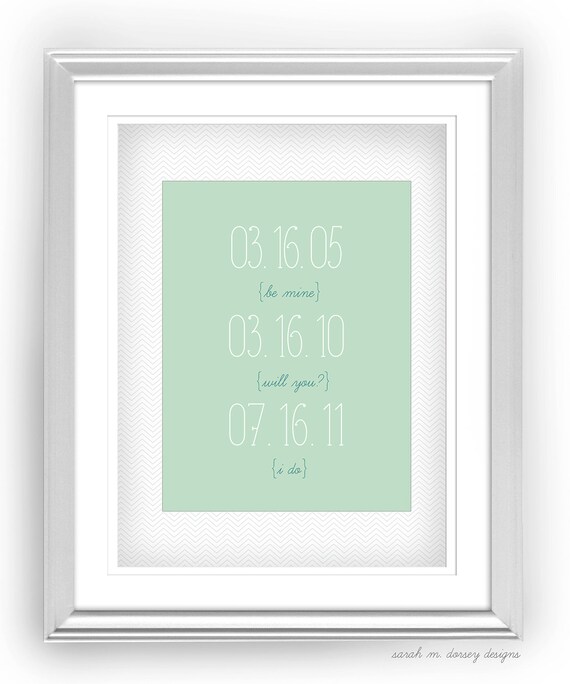
Special date print

See you next week!

Healthier Apple Crisp

The other day I was looking for a healthier apple crisp recipe and only found ones that resembled apple pie. I didn't look too hard, but was amazed at the amount of butter and sugar that was in the healthier ones.

So breaking out of the normal DIY/home posts here is an apple crisp that I've made a few times recently. This is my modified version of one from the New American Vegetarian Cookbook that my Mom gave me.


Here's what I like about this recipe: 1. you can eat it for breakfast or dessert 2. it gets flavor from using flavorful ingredients such as spiced apple cider, tart apples, and citrus and not processed sugar 3. No added sugar, only fruit sugar (except in the dried cranberries, or you could use no added sugar ones)  4. is very versatile, you can substitute for what you have on hand and doesn't require exact measuring (my kind of recipe!)  

Healthier Apple Crisp

spray an 8x8 pan with non stick spray and preheat oven to 375 degrees

5 Apples (I like Granny Smith or any other apple that is tart)
1 juice and zest of small lemon
1 juice and zest of small orange
4 Tablespoons flour
1 Teaspoon cinnamon
2 packets of Stevia (I like Truvia) 
1/4 cup dried cranberries
2 Tablespoons butter
2 Tablespoons honey or agave
1/2 cup flour (wheat or white)
1/2 cup oats (steel cut or rolled)
1/4 to 1/2 nuts (I used pecans and sunflower seeds)
1/4 Teaspoon cinnamon
3/4 cup juice (apple cider or orange is good)


Gather your ingredients (I forgot to put the agave and Truvia in the photo :)


Peel and cut your apples into pieces or slices, zest and juice one small orange and lemon, add 4 tablespoons of flour and stir together (actually adding the zest after the flour is best so it gets evenly distributed, whoops again!)


Add 1 teaspoon of cinnamon, 1/4 cup dried cranberries, stir and add 2 packets of stevia (add half of the nuts here too 1/8 to 1/4 cup depending on preference)


Now for the topping, melt 2 tablespoons of butter and add 2 tablespoons of honey or agave. Mix 1/2 cup flour and 1/2 cup oats, 1/4 teaspoon cinnamon, add the rest of the nuts here (1/8 to 1/4 cup depending on preference).

Spray an 8x8 pan with nonstick spray and add the apple mixture, then put the flour and oats mixture ontop


Pour 3/4 cup juice (I like apple cider) This helps keep it moist, so a must!

Bake at 375 for 35-40 minutes


and enjoy with a scoop of ice cream or in a bowl with some milk! This could be prepped the night before and baked Thanksgiving morning!

Yum!

Lack Tables to Upholstered Ottomans


This weekend we finished upholstering our old Ikea Lack tables into skirted upholstered ottomans.


As you can see, they were in rough shape. This was the first piece of furniture that I painted before I did some research. This is proof that using the right paint and good techniques are important! See this post and this post for some tips that I've picked up along the way.

Back to upholstering! I've wanted to do this project for a long time, since we moved the desk into the guest room. That spot in our bedroom has been begging for something! Once we built the credenza and moved the printers off of the lack tables, it was definitely time!

I found two of these shower curtains at TJ Maxx for $14.99 and thought that they would be perfect for the ottomans. At 72x72, $14.99 is a great price for 2 yards of fabric (at a larger width than normal too!)


Here's how we did it:


The table was placed on the foam, and cut out with a sharp knife. David's knife of choice is the filet knife since it is sharp and gives a straight cut. This is by far the easiest and most accurate way that we've found to cut foam.


The fabric was centered on the top so that the pattern was even, thick batting was placed underneath (you want the kind that you can't see straight through, so it isn't too stretchy). These were cut to size and stapled in place. We stapled in the center on all four sides first (pulling enough to round the corner, but not too hard because we still wanted it square), and then stapled the rest of the way to the corners, pulling down evenly as we went.

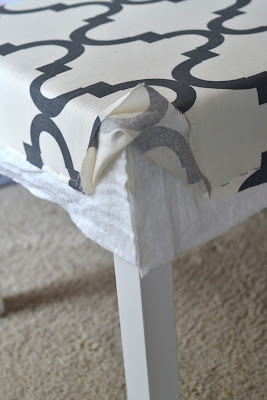
Here's how we did the corners:


the excess batting was cut off

fabric was folded back


and then folded down and stapled. 


Legs were wrapped in fabric (like a present :)


A simple cording was made out of the top part the shower curtain which was solid gray. I was able to get enough, but cutting the gray part in half (lengthwise) and then sewing together to get the 88" needed to go all the way around. The cording was stapled on the side of the table where we wanted the skirt to start (3.5" from top) 

Typically you want to cut fabric for cording on a diagonal, so that it bends easily around the corners. Since this fabric is a twill (weave that runs diagonally) and the corners weren't too extreme, it bent fine for us. 


We laid the fabric on the side (with a piece of cardboard underneath to hold it in place) lined up the pattern, marked the finished size by folding the fabric and pressing with an iron and then cutting out with 1" seam allowance. The raw edges were sewn and the panel was stapled just underneath the cording.


The panel was folded back down and pressed. We used the iron a lot in this project, it helps with accuracy and giving professional looking results. 


Finally, the corners were left looking like this.


So with a needle, I went up through the underside of one panel through the bottom of the cording and down through the inside of the other panel and made a loop.


Then I sewed down the panel for about 2-3 inches until the skirt wasn't gaping. I sewed on the inside, hiding my stitches, only going through the first layer of fabric.

and done! whew!


I think Annabelle is going to like looking out the window here ...


Each ottoman probably took around 3-4 hours. This would of been faster if we didn't line up the pattern (use a smaller print to avoid) but we felt with such a large pattern, it needed to line up. and I love the result!!

Total cost:

Shower curtains: $14.99 x2 = $30
Foam: $20 (camping pad at Home Depot, we only used about half) 

$50 total

We had a lot on hand, but if not Ikea lack tables are $7.99 ($5.99 for Black Friday I hear), I like the batting from here and the cording from here  

Also, this could easily be turned into a no sew project by using no sew adhesive. I like heat n' bond
I've found at Joann Fabrics and Wal Mart. Just make sure to test on a scrap piece of your fabric, since sometimes you can see through it once ironed.
 
 I love love love our new ottomans! I'm hoping to add a few more things to this wall (especially draperies) stay tuned! 

-- 

Linking up to!


TDC Before and After
The 36th AVENUE
Powered by Blogger.