

First, a little background info .. I have a BA in fine arts, though I didn't do much abstract work in school, the basic principals are the same. It's been about 7 years since I've painted regularly and I miss it! My preference is oil paint, and it really requires a separate studio due to the stinky paint and mess. Once we stop moving around every few months, I'll set one up! All photos (other than of the painting and my office were taken by David for his digital photography class in college)
Here are my tips!
You will need.
Canvas (either by the roll (you stretch/frame yourself) or pre-stretched) if your canvas is primed, make sure it doesn't feel plasticy (the paint won't stick very well) You want your painting surface to have some tooth to it. If needed, you can apply a coat of gesso.
Paint (oil or acrylic ... much like painting furniture, each have their pluses and minuses. Oil has a slow drying time, so it extends the working time on the canvas, which allows you to blend and create washes. You do have to wait longer to put paint overtop though .. it is also very stinky, so you shouldn't paint in the house, and you need turpentine to clean your brushes. Acrylic dries fast, so it doesn't blend as well on the canvas, but it doesn't smell and you can go overtop it faster.

Paint colors I use, Titanium White, Cadmium Yellow, Cadmium Red, Alizarin Crimson, Thalo Blue, Ultramarine Blue, Brunt Sienna, Brunt Umber, Mars Black (I like Grumbacher Pre-Tested oils)
(Tip: Don't just use black to darken colors, always use complementary colors first to neutralize and deepen colors. It will give a richer color)
Paint thinner (odorless turpentine for oil and water for acrylic) to thin paint and clean brush.
Paint brushes
Glass palette with white paper underneath (mixing on white gives accurate color representation)
Palette knife (to mix paint)

Cotton rag to clean brush between colors.

Disposable gloves (for oil paint)
Razor scrapper (to clean palette)
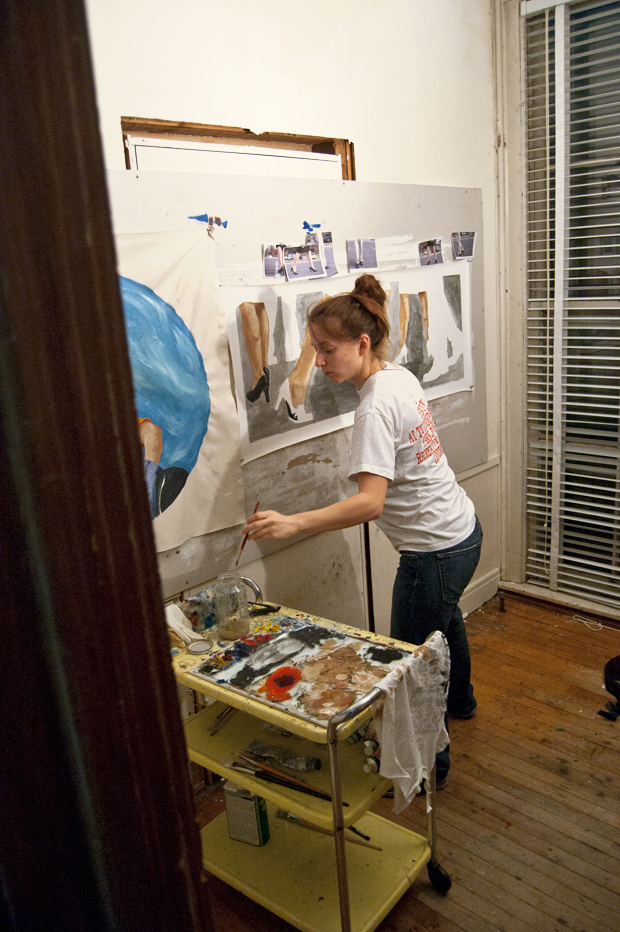
Just for fun, here's one of me painting in my college studio (2007)
I don't have step by step photos of me painting (David wasn't there and I'm notoriously a messy painter which doesn't mix with the camera..)
But here's my general process - I referred to this fabulous painting! I love the colors, movement and variance of brush strokes.
To get started, I did a light wash of the larger areas of color (in oil paint, I love how it blends) Then, following a circular pattern, I applied tighter brushstrokes (I switched to acrylic since the colors don't need to blend and I could overlap the paint faster since it dries fast) - all around the canvas, adjusting the color slightly as I went. For big color changes, I cleaned my brush with turpentine (for oil) or water (for acrylic) and a rag. Then, I switched to another color. To finish, I did a final color adjustment by covering some of the paint with white gesso (I didn't buy enough white acrylic, but that would have been preferable) and then some final brushstrokes of color. (Also, step back and look at the canvas several times while you're working - this will give you a good idea of what the whole composition looks like)

Here are a few detail shots.


I hope this inspires you to get creative and start your own painting! Don't worry about messing up .. you can always paint over it with gesso and start over! Have fun with it :)

--
Finally, few cyber monday (today only) deals for you!
If you're interested in learning to how to use your digital camera on manual mode, I highly recommend Shoot Fly Shoot! One of my biggest regrets in college was not taking a photography class, Shoot Fly Shoot photography 101 - is super straightforward (perfect for visual learners!) This is how I learned to shoot in manual mode, I LOVE this class!!
They are offering 50% off all their classes (today only) so now is definitely the time to check it out! They are also offering Photoshop classes (the program that I use to edit my photos). Though I haven't taken that course, I'm sure it's amazing as well!!
Click the banner below to check out the classes!!

Kirsten Krason of 6th Street Design School recently launched House of Jade and has an online shop!! Use the code, HOJBF15 at checkout for 15% off!!
Also, check out my Etsy shop and use the code CYBER15 for 15% off!
--
p.s. Don't forget to enter last week's giveaway!


0 comments:
Post a Comment