

Here's how we did it:
First we picked up our supplies:
1/2" plywood
2x2 pine (qty 2)
2x4 (qty 1)
1 piece of 3" camping foam from Home Depot
Batting
Fabric (I used a drapery panel from Target - in tan)
Buttons to cover
Gorilla glue
Upholstery thread
Nailhead
Tools needed:
Chop saw
Long needle (for tufting)
Hammer (for nailhead)
Upholstery stapler
We decided to make the headboard flush with a queen mattress 60" wide, a few extra inches would work too.


First the boys worked on the frame.

Above is the completed wood frame, minus the 1/2" plywood behind the legs (to make it flush) - which was added last, minus the 2x4 at the bottom on the plywood, minus the extra 2x2 on the leg. Whoops ... forgot to take another pic!
We measure and drilled holes for the tufting with a 1/4" drill bit.

Since the foam wasn't wide enough, we pieced it together at the bottom, using spray adhesive to secure it. Then from the back we poked through the holes with a meat thermometer. (We used an extra sharp kitchen knife - the filet knife cuts it like butter!)

Using a knife, we cut the foam at an angle (wider at the top) down to the plywood.
Using the instructions on the kit, we covered non upholstery grade with the same fabric as the headboard. Tip: use a little Gorilla Glue before you seal the button to keep them from popping off.


We laid the batting and fabric overtop and started tufting. Balancing the headboard against the kitchen island, David threaded the long needle with upholstery thread (doubled up) and threaded it through the back. In the front, I folded the fabric where I wanted it to go, inserted the button on the needle and sent it to the back to be stapled. I wanted the button to be pushed down to the plywood, so I used the end of a hammer since it was so deep. Tip: use the end of a thin paintbrush to help you find the hole. David pushed it from the hole in the back and I stuck the tip of the needle in end and pushed it back out. Finding the hole through 3" of foam can get tricky, so it helped us find the hole the first time.
TIP: With deep tufting, make sure to not to pull too tight between the buttons, the extra fabric should go into the folds, pushing the button down helps keep it tight. If you pull too tight, you won't have enough fabric to work with as you go to make the folds. Also, make sure to leave plenty of extra fabric at the sides since the tufts take a lot.
Tufting is a little frustrating and time consuming, but it gets easier once you get the hang of it. Expect to spend several hours. We had to redo a few tufts at the edge to the correct amount of fabric at the edge so it was smooth around the outside frame.
*Note: getting it smooth around the edges is tricky - it is easier to create folds (from the tufting) on the edges, which would require reconstructing the exterior frame or you could also cut a separate piece of plywood for the tufting and attach it to the back piece of plywood and frame (see this tutorial)

After we finished tufting, we started to pull tight on the sides and top and bottom.

Love this stapler! Makes the whole process a lot easier. We found ours at Ace Hardware for about $20, but I think Home Depot sells it too.

For the corners, we put a staple in and folded the front over. We didn't have any issues with it bunching in the front at the corners. At first, when planning, we thought we'd have to fold it at a 45 on the corners (on the front). But this worked well!

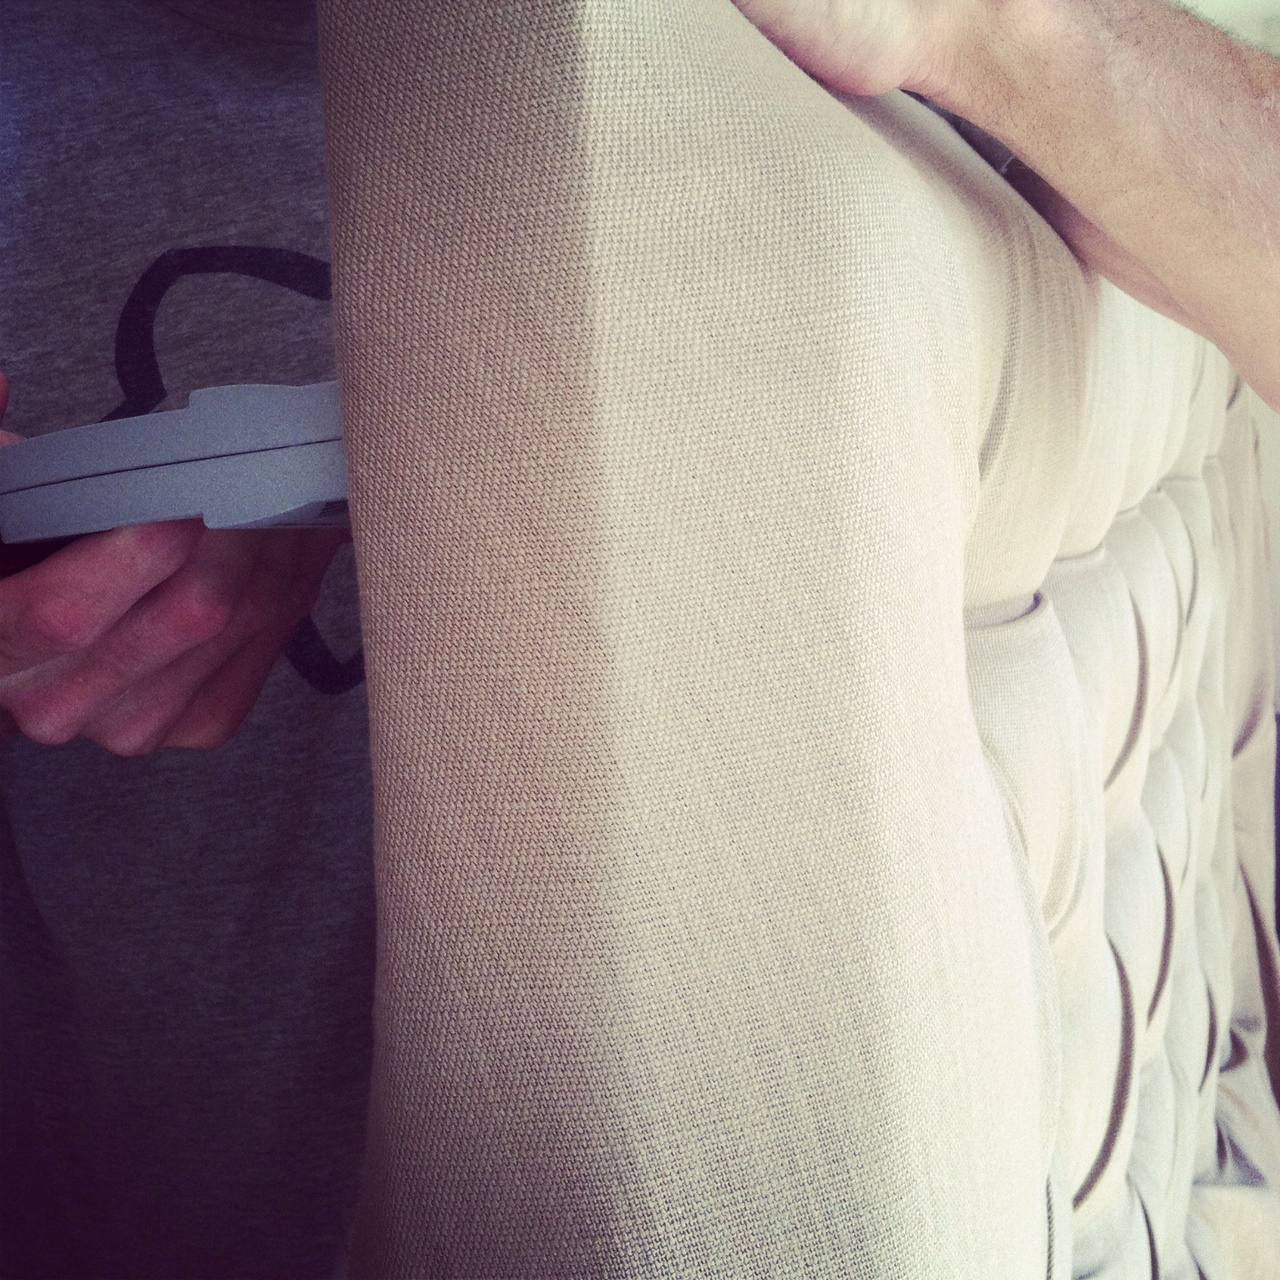
To pull the edge tight, we added nailhead strip. I normally use individual nailhead, but since we weren't going against a straight line, this helped, plus this is SO much faster.

It took us about 30 minutes to lay out the whole thing!

Also, we let the headboard free stand between the mattress/box spring and the wall. Having the plywood go under the mattress and the legs to the ground helps lock it in place. We haven't had issues with it moving, but since it can move, I'd recommend using french cleats to secure it to the wall to be extra safe.

We photographed it in our house before taking it over to our friends. I loved walking past it and looking at it for the few hours that it was here. Made me feel like I had a put together bedroom again (at least from the hall :)


I added black and white Marimekko pillows purchased from a Crate and Barrel outlet a few years ago.
and my Caitlin Wilson Designs pillow in tall chevron mint.
The lamps were found at Target a few months ago for $16 each. Finally, we flipped the drawer on our nightstand so it was white. Still loving my organic chevron duvet from West Elm :)

Cost Breakdown:
Wood and Foam (home depot) $50
Batting: $8 (with coupon at local craft store)
Buttons: $12 (6 packs from Amazon)
Nailhead: $13 (Amazon)
Fabric: $25 (Target)
$95 Total
SOURCES:
Duvet: Organic Chevron | West Elm
Chevron Pillow | Caitlin Wilson (mint no longer in stock)
Black and White Pillow | Crate and Barrel Outlet a few years ago, Marrimekko Tuuli Pillow Sham
Night Stand
Lamp | Target Summer 2013
I love love love how it turned out!!!
We're already have a plan for our next headboard! Now we just need a place to put it :) The movers are coming in a few hours and then we're packing up to head towards Ohio. We're making a road trip out of it, so make sure to follow our progress through Instagram!
Stay tuned this week for a fall tour hosted by Lindsay and Kristen (I'm the 2nd!), and a few guest posts from some of my favorite bloggers!!


0 comments:
Post a Comment