
This past week, we finally got around to finishing it and I'm in LOVE with the end result!!

Want to know the best part? It was basically free! I bought white paint for this and a few other projects, but other that that, we had everything on hand!
Read on to see how we did it!
I primed the table a few weeks ago while I had the primer out and filled the holes with wood filler. Last weekend, David was playing around with a few pieces of scrap wood and found some crown molding that we purchased (from Habitat Restore) for another project, but didn't end up using. It fit PERFECTLY between the existing legs for a seamless transition. It's like it was made to go there! David cut it to size and cut a notch in the top for the existing table top mount to attach to. You can only see it when you are under the table, so we weren't worried about covering it up.
We put wood glue on the edges of the crown molding and secured it to the base with small nails.

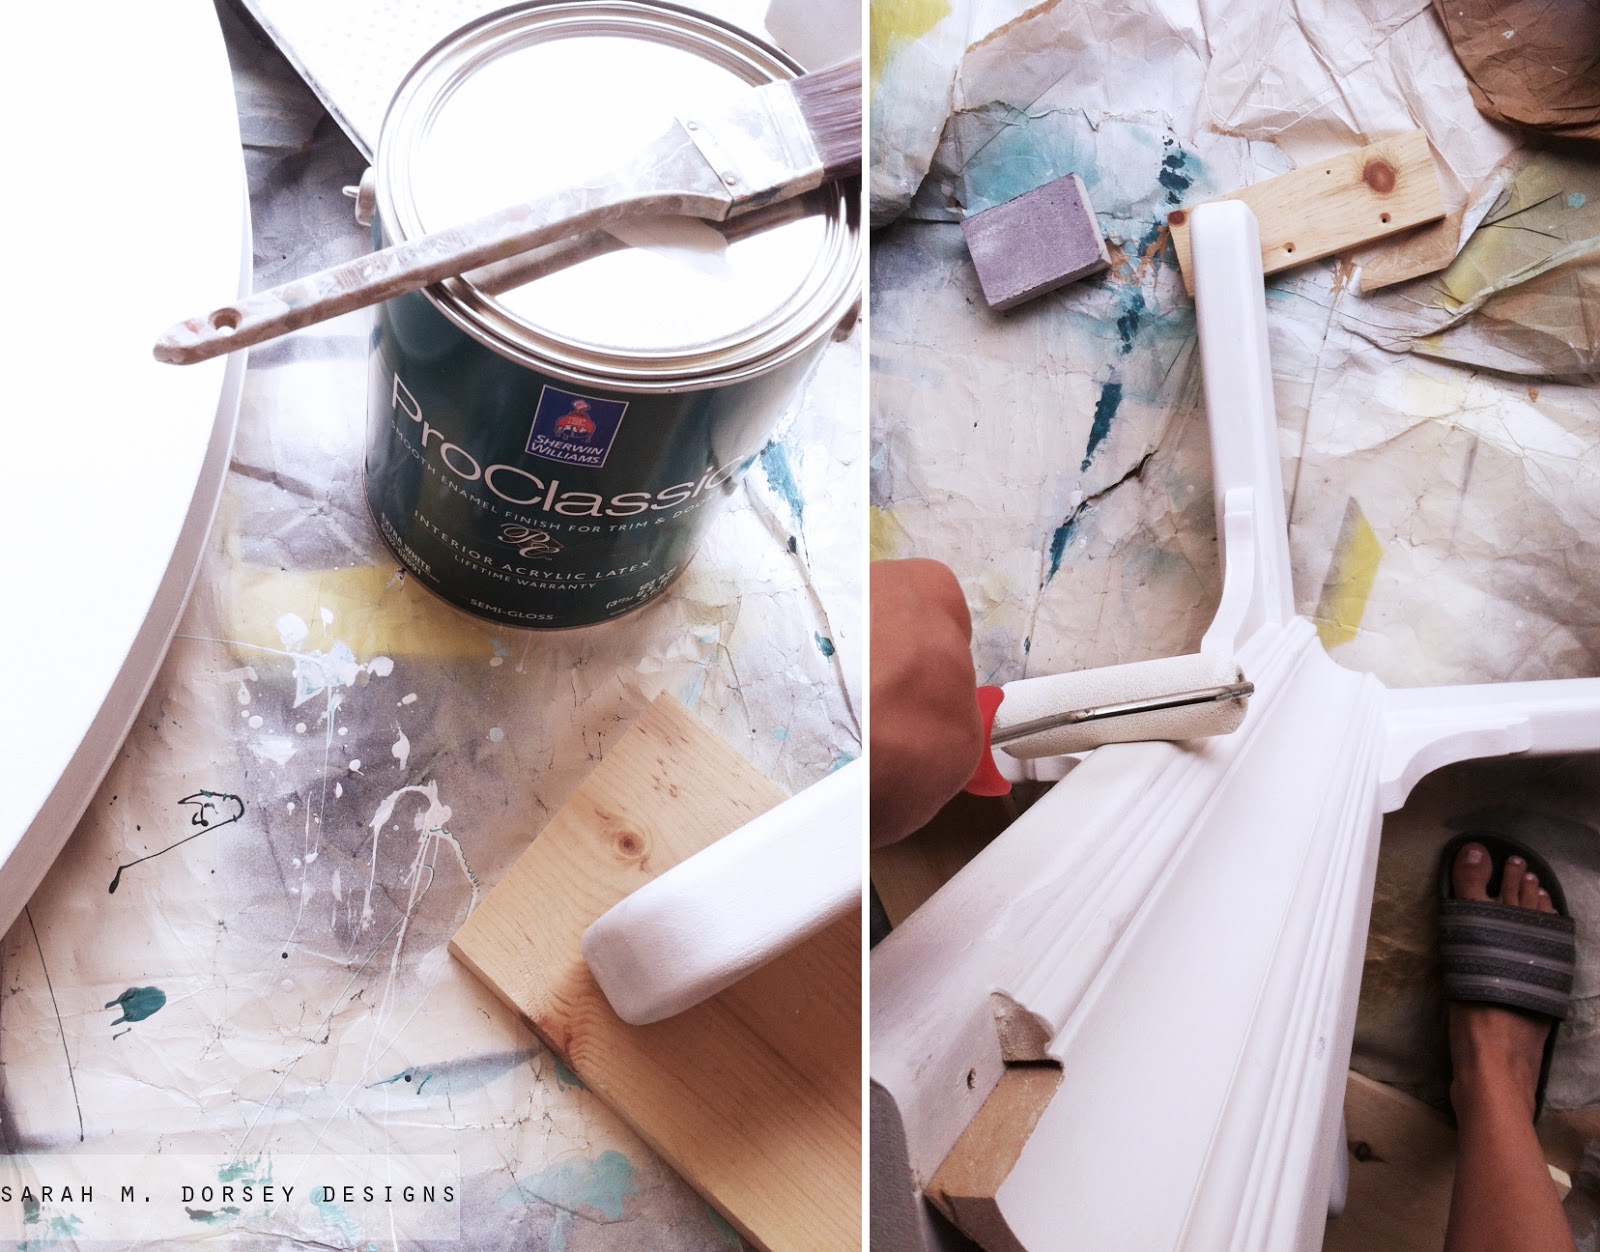
After sanding and wiping down with a microfiber cloth I used my favorite primer, Zinsser Cover Stain. It sticks to glossy surfaces (though it is best to sand first) and it is SUPER durable!! I used two coats on everything and three on the top for extra durability. It is oil based, so that means it's stinky and the brushes need to be cleaned with mineral spirits (or use cheap ones that can be tossed).

I finished with two coats SW Pro-Classic in Alabaster, a light creamy white.
We created a stencil in Illustrator and cut it on our Silhouette Cameo and stenciled it with a light gray, SW Big Chill.
Since the top is laminate and it will get a lot of use, I decided to add a few coats of water based polyurethane. Oil based poly will yellow over time on light surfaces, so water based is best for white paint.

It is the perfect addition to our office! Extra work and dining space. It isn't too large or small and the round size makes it easy to move around.


Notice something else?? We also finally finished the other Eames chair!!! Tutorial a little later :) I'm planning to put a few of the chairs that I recently found, once I refinish them. Updates on Instagram if you're interested. And then the Eames chairs will go back to the desk.

I love love love the new table base! It makes to look so much more expensive!

I was originally planning to paint the top in a bolder color/pattern, but I think the simplicity and low contrast works well with the other colors and patterns in the room.

Finally, I created a few prints using text and got them printed as Engineering prints at Staples. The quality is similar to a laser printer (so so quality), but a $1 something each is such an affordable option for large scale prints! I was inspired by the prints in Kristin's fabulous nursery, found here.
You can download "enjoy the little things" HERE. It includes two 16x20 prints and one 5x7 print. You'll have to cut the 16x20 down yourself or Staples can do it too. I printed the 5x7 at home. Enjoy! :)


Ahh SO much better!! Have you used crown molding in an unconventional way too? I'm officially obsessed and will be looking for more project ideas using it!

Sources:
Table: roadside find, but craigslist and goodwill would be good places to look
Crown Molding: Habitat Restore (about .50 a foot)
Primer: Zinsser Cover Stain, oil based, Home Depot
Paint: Sherwin Williams Pro Classic
Poly: Minewax Water based, Home Depot
The office/living room is almost done, then I'll post more pics showing the whole space! :)


0 comments:
Post a Comment