
I'm not the best gardener (probably part of the reason David is hesitant) but practice makes perfect, right?
This summer, I'll probably be doing a few garden related posts and today I'm sharing these simple DIY aluminum plant markers.

Here's how we did it:
*Note: these are raw aluminum, so the edges are sharp - probably not good for houses with kids or pets that might bump into them. Just a heads up. You could take an extra step to seal the edges (maybe hot glue?) but we wanted to keep it simple and streamlined.
_________________________________________________________________________________
MATERIALS + TOOLS:
6" wide aluminum flashing
Awl (like a screw driver, with a small rounded point. Used for marking metal)
Raleway Dots font, available here
Scrap block of wood
Masking/Painter's tape
Bamboo sticks (available in garden section)
Scissors
Gardening shears
Safety gloves when handling aluminum
SKILL LEVEL:
Easy
TIME INVESTED:
About 10 minutes per sign
_________________________________________________________________________________
1.
First we cut the the 6" aluminum flashing into strips. We made it the width of a ruler to make it easy - marking the line with a pencil.

2. We cut the flashing with general craft scissors. Since we weren't bending and handling the metal a lot, we didn't wear safety gloves. It is very sharp, so we would recommend wearing them to be extra safe.

3. Next, we squared up the the metal, placed our template on top (font is Raleway Dots) and secured it with tape on a scrap piece of wood.
Here's a close-up of the tip of the Awl.

4. Then we punched every other hole on the template with the Awl. It was pretty easy just pushing down.

5. Next, we prepared the bamboo sticks. We cut them into 18" sections (12" out of ground and 6" in the ground) with garden shears. Then we cut a small slit in the center of the top of the stick to slide the aluminum into.

6. We put a little gel super glue in the crack.

7. Then we slide it in and held it for a few seconds until it set.

and stuck it into the ground!


I have one pepper growing! Success!

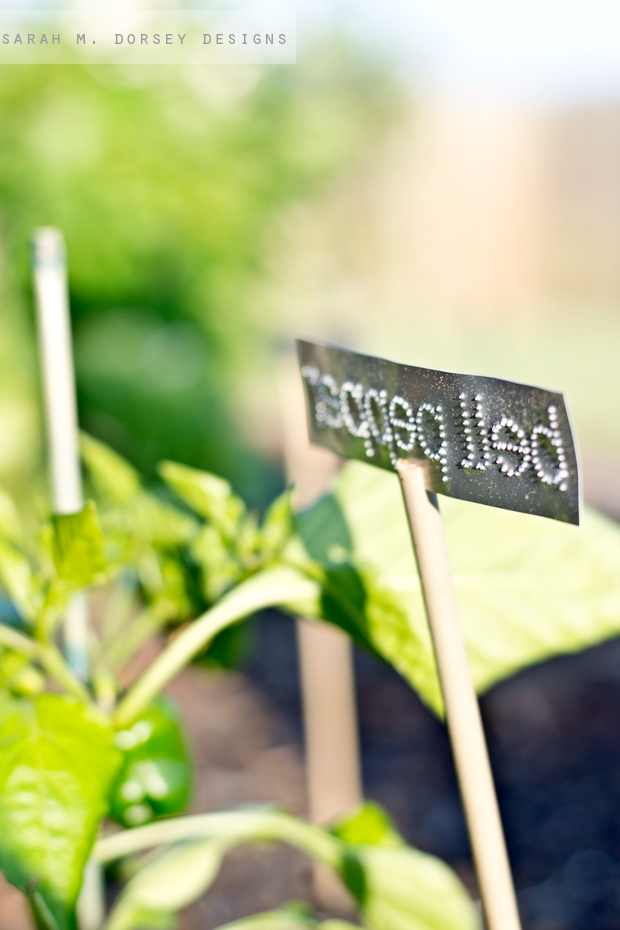
I like the raised back.

and the way the light reflects off of them.

I love the simplicity.


0 comments:
Post a Comment